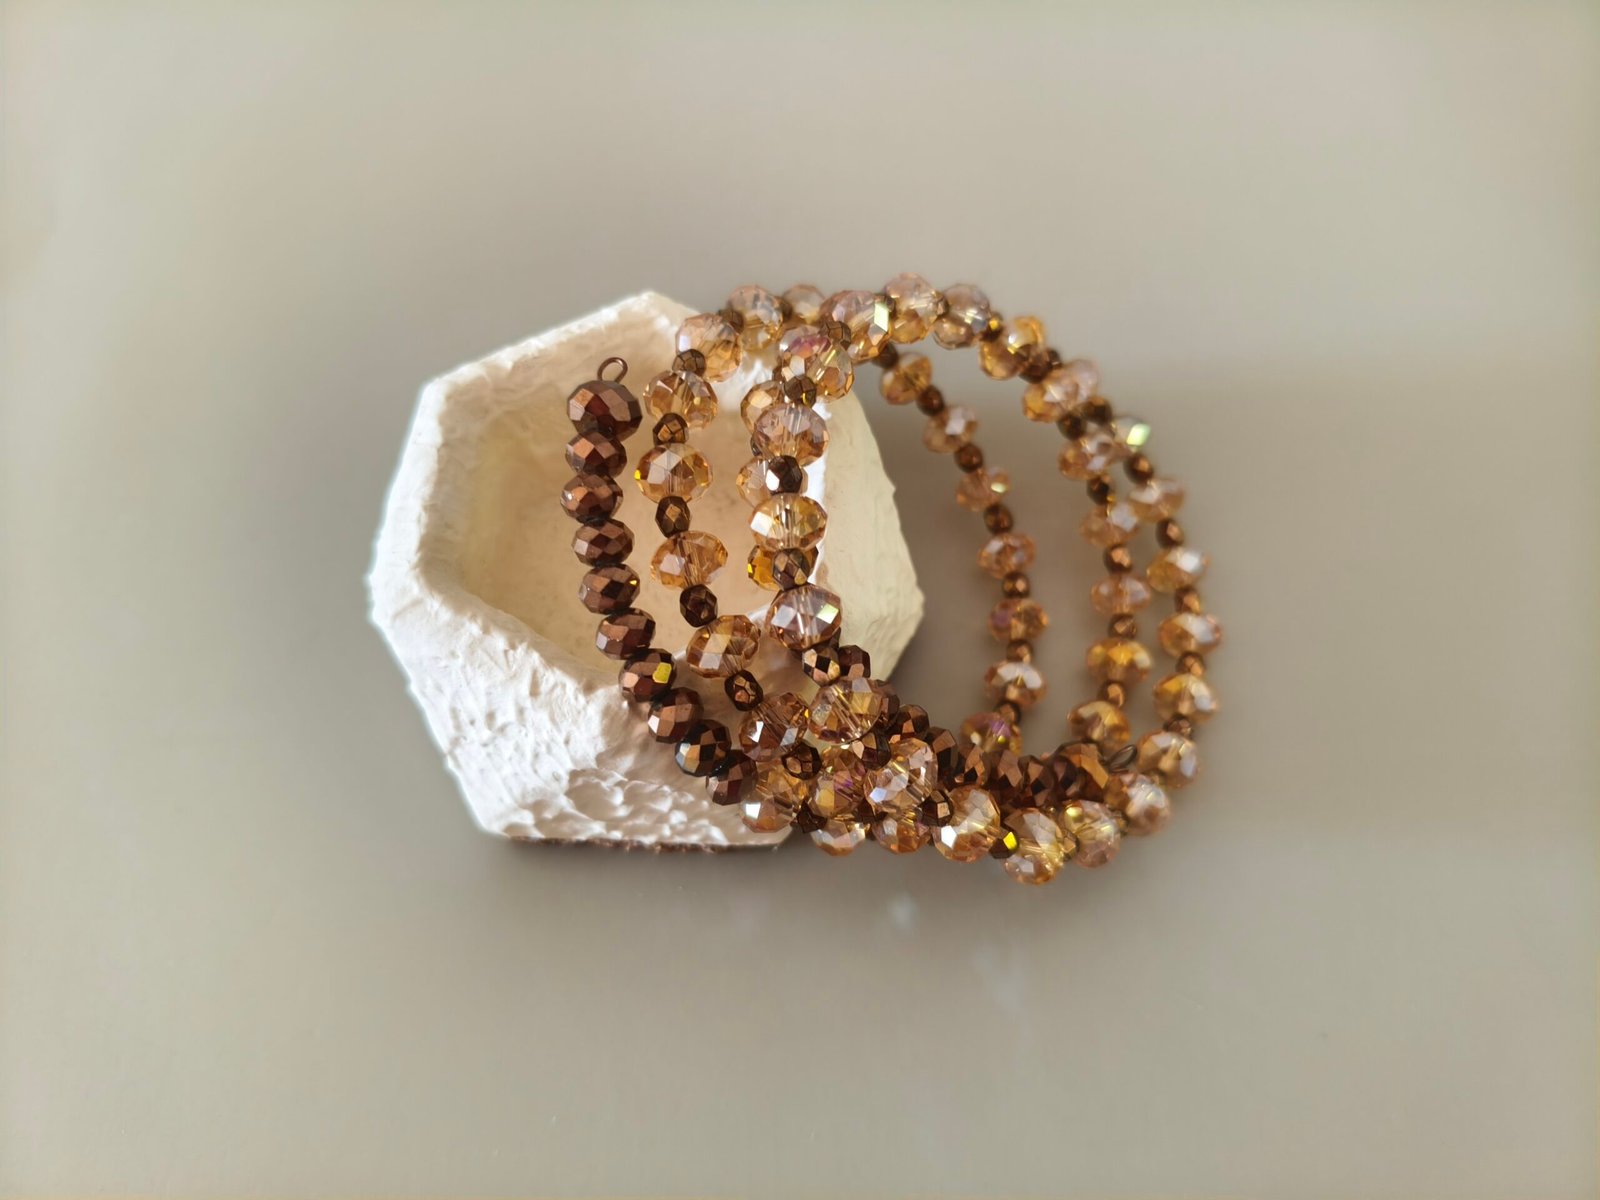
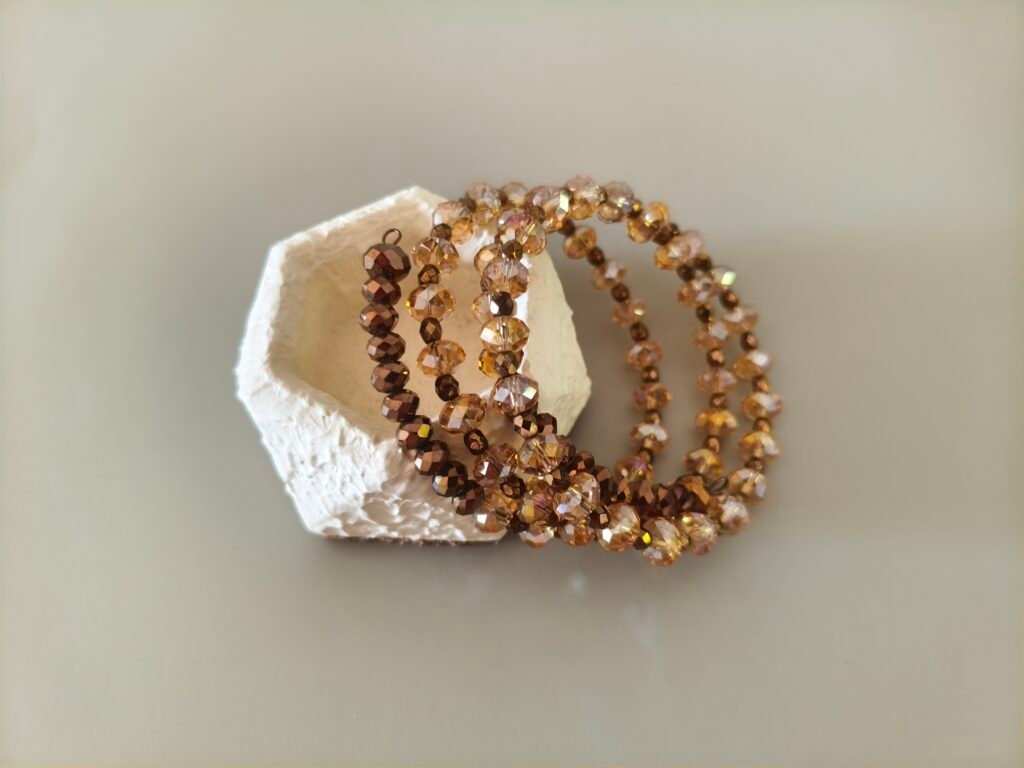
Who says making jewellery has to be difficult? If you’ve never made a bracelet before, you’re in the right place! This memory wire bracelet is one of the easiest projects you can start with. All you need are a few colourful beads, a piece of memory wire, and a little creativity. In no time, you’ll have a beautiful handmade bracelet that looks like it came from a boutique!
Table of Contents
Why Memory Wire Is Great for Beginners
Memory wire is one of the easiest jewellery materials to work with because it already holds its shape. That means you don’t have to measure the perfect bracelet size or learn advanced wire-wrapping techniques. Simply add your favourite beads, create a loop at each end, and your bracelet is ready to wear. It’s a fun, stress-free project that helps beginners build confidence while creating something beautiful.
Materials You Will Need
- Memory wire – choose bracelet-size memory wire.
- Beads – use any beads you love, as long as the holes are large enough to fit the wire.
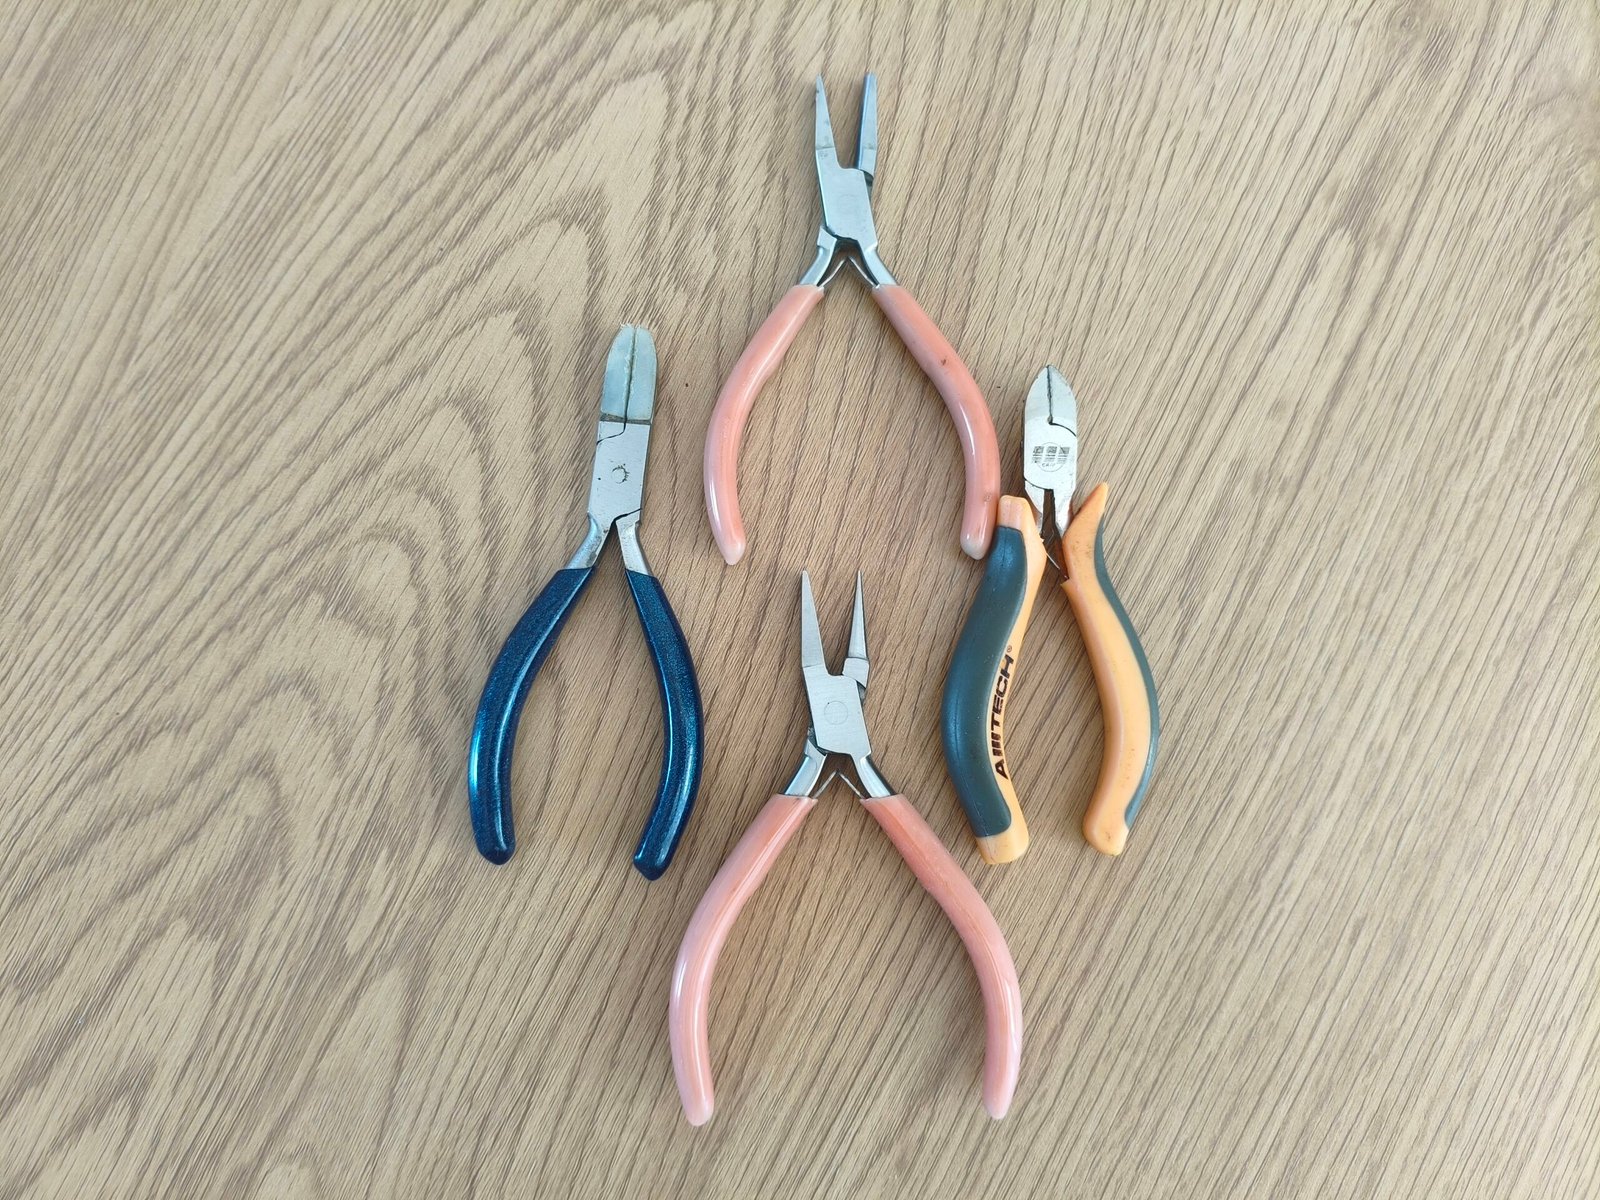
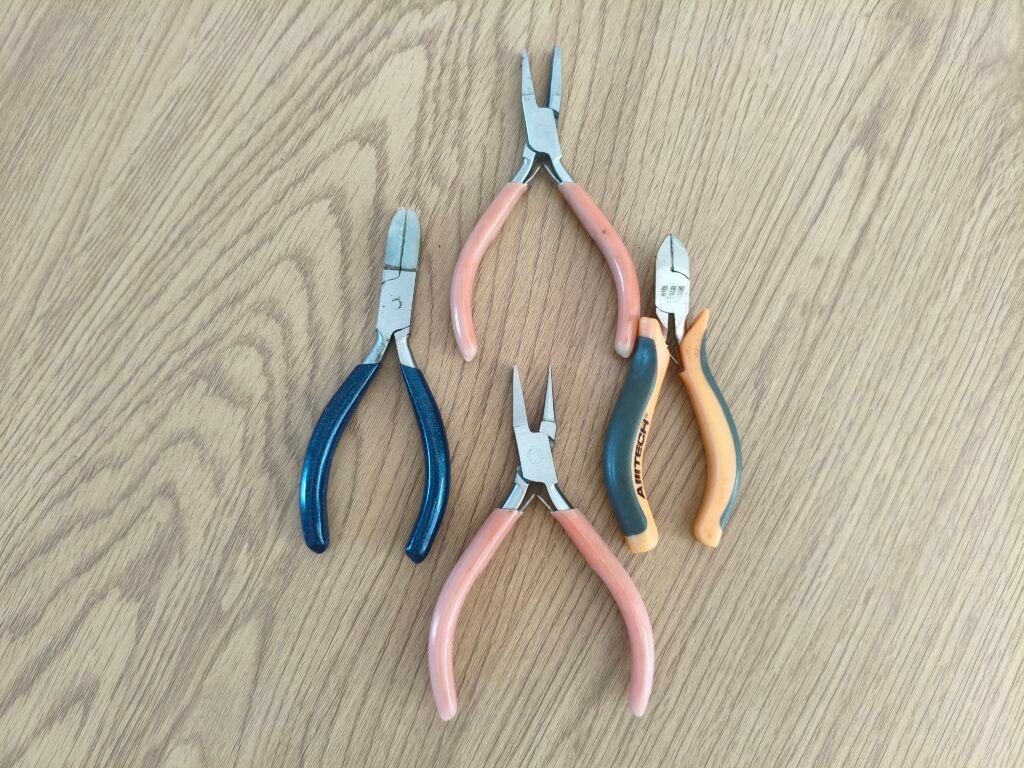
- Round-nose pliers – for making the loops at both ends.
- Memory wire cutters – for cutting the wire safely and cleanly.
- Your favourite colours and creativity!
How to Make a Memory Wire Bracelet
- Cut the wire: Cut a piece of memory wire, leaving a little extra at the end.
- Make the first loop: Using round-nose pliers, create a small loop at one end of the wire.
- Choose your beads: Pick your favourite beads and decide on your colour combination or pattern.
- Add the beads: Thread the beads onto the wire until you reach the desired bracelet length.
- Make the second loop: Once you’re happy with your design, use the pliers to make another loop at the other end.
- Check your bracelet: Make sure all the beads are secure and the loops are closed properly.
- Wear and enjoy! Your beautiful handmade memory wire bracelet is ready to wear or give as a lovely handmade gift!
Tips for Beginners
- Choose beads with holes large enough to slide easily onto the wire.
- Pick 2–3 colours for a balanced design.
- Leave about 1 cm (½ inch) of wire at each end for making loops.
- Use memory wire cutters, as regular jewellery cutters can be damaged.
- Mix different bead sizes to create texture and interest.
- Lay out your bead pattern before threading the wire.
My Experience
When I first started making jewellery, memory wire bracelets quickly became one of my favourite projects. They were simple enough to make in one sitting but always looked elegant and professional. Every bracelet I finished gave me the confidence to try something new, and before long, I was experimenting with different colours, beads, and styles. If you’re just beginning your jewellery-making journey, this is a wonderful project to start with—you’ll be amazed at what you can create with just a few simple materials.