Category: Home Decor

  • DIY Wine Bottle Candle Holder with Dried Lavender

    DIY Wine Bottle Candle Holder with Dried Lavender

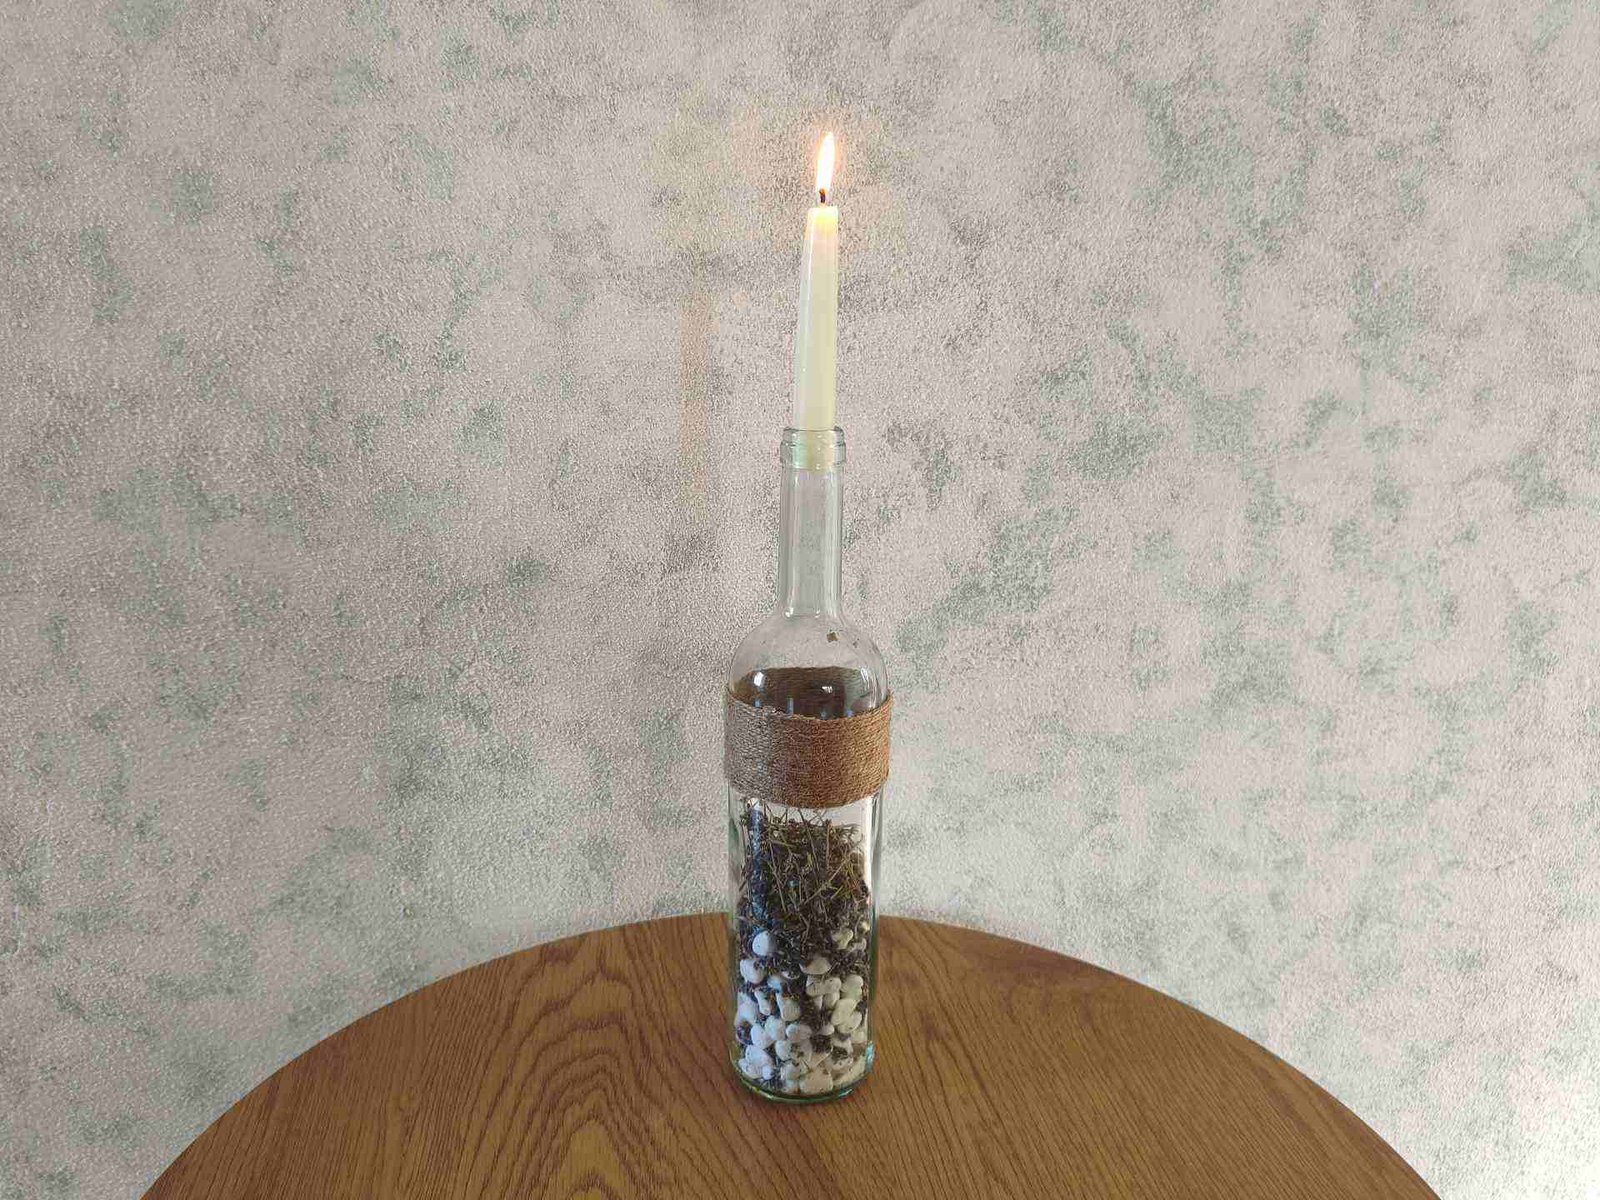
    DIY wine bottle candle holder

    A wine bottle candle holder is a beautiful way to turn an ordinary empty bottle into something truly special. With just a few simple materials, you can create a rustic and elegant piece of home decor using white stones, dried lavender, and natural rope.

    But this candle holder has a little secret. Once the candle is lit and the glass gently warms up, the beautiful fragrance of the dried lavender can begin to fill the air, adding another lovely touch to the warm glow of the candle.

    Simple, inexpensive, and made from materials that are easy to find, this is a DIY idea that proves you don’t need much to create something beautiful.

    • An empty wine bottle
    • Small white decorative stones
    • Dried lavender
    • Natural rope or jute twine
    • A candle that fits securely into the bottle opening

    1. Prepare the Bottle

    Make sure the wine bottle is completely clean and dry.

    2. Add the White Stones

    Fill the bottom with small white stones.

    The stones create a beautiful clean base and also add some weight to the bottle, making the finished candle holder more stable.

    3. Add the Dried Lavender

    Next, carefully add dried lavender above the stones.

    The combination of the white stones and purple lavender creates a simple but beautiful natural look.

    4. Decorate with Rope

    Wrap natural rope around the upper part of the bottle and secure it well. You can wrap it several times or create your own pattern depending on the style you want.

    I love using rope in DIY projects because it instantly gives glass a warmer, more rustic feeling.

    5. Add the Candle

    Finally, place a suitable candle securely into the bottle opening.

    Make sure the candle is stable before lighting it and place the candle holder on a stable, heat-resistant surface.

    And that’s it! The DIY idea is ready!

    Your old wine bottle has officially become a beautiful piece of home decor and turned into a beautiful wine bottle candle holder.

    And here comes my favourite part.

    When the candle is lit, the warmth around the bottle can gently release the natural fragrance of the dried lavender.

    So this isn’t just a candle holder you can look at. It can also add a beautiful scent to the atmosphere around it.

    The soft candlelight, the white stones, the lavender, and the natural rope create a cozy little decorative piece that feels especially beautiful in the evening.

    Because this project uses a real candle, always put safety first.

    • Make sure the candle is securely positioned and cannot easily fall.
    • Keep the candle away from the rope and other flammable decorations.
    • Place the candle holder on a stable, heat-resistant surface.
    • Never leave a burning candle unattended.
    • Keep it away from children, pets, curtains, and other flammable objects.
    • Allow the glass to cool before moving the candle holder.

    A little attention to safety means you can enjoy the beautiful atmosphere without worry.

    There is something special about turning an everyday object into something beautiful. A wine bottle candle holder is the perfect idea!

    With this DIY idea a wine bottle started its life as something completely different, but with a little creativity, it can become a charming piece of home decor with natural textures, soft candlelight, and the delicate scent of lavender.

    So before you throw that empty bottle away, take another look at it.

    You might already have the perfect piece of decor waiting to be created.

    One of my favorite things about DIY decorating is that beautiful home decor doesn’t always have to come from a store.

    Sometimes, an empty bottle, a few stones, some dried flowers, and a piece of rope are all you need to create something completely unique.

    And the best part?

    You can make it your own.

    Try different types of bottles, flowers, stones, or natural materials and create a candle holder that matches your home and your personality.

    Want a visual guide? See my YouTube tutorila: How to Make a Wine Bottle Candle Holder | Easy Upcycling DIY
  • 10 Cheap Ways to Make Your Home Look More Beautiful

    10 Cheap Ways to Make Your Home Look More Beautiful

    DIY home idea to make your home look more beautiful

    Do you think you need to spend a lot of money to make your home look more beautiful? Think again! The most beautiful homes are often the ones that show the personality of the people who live in them. A handmade decoration, an old object you love, a favourite plant, or a little DIY project can say much more about you than an expensive decoration ever could.

    With a few simple ideas, some things you may already have at home, and a little imagination, you can give your space a fresh and personal look. In this article, I’ll show you 10 cheap ways to make your home look more beautiful—because creating a home you love doesn’t have to be expensive!

    1. Rearrange what you already have — almost free
    2. Decorate old glass jars — almost free
    3. Add dried flowers — very low cost
    4. Create a DIY centrepiece — low cost
    5. Give an old frame a makeover — low cost
    6. Add plants — low cost
    7. Make your own wall decoration — low cost
    8. Transform old bottles — almost free
    9. Create a cozy corner — using what you already own
    10. Add handmade decorations — the most personal option

    1. Make a DIY centrepiece with a glass jar
    Fill a jar with dried flowers, branches, stones, or even fairy lights.

    2. Create a beautiful entryway
    You don’t need much—a small tray, plant, mirror, or handmade decoration can make the entrance feel welcoming.

    3. Give an old chair a new life
    Paint it or decorate part of it. You can turn something boring into something very beautiful.

    4. Make a DIY wall hanging
    Use branches, yarn, dried flowers, fabric or anything else you have around.

    5. Create a little “happy corner”
    Choose one small area and fill it with things that make you happy—a plant, candle, photograph, handmade object, favourite book, or anything meaningful to you.

    6. Decorate with candles at different heights
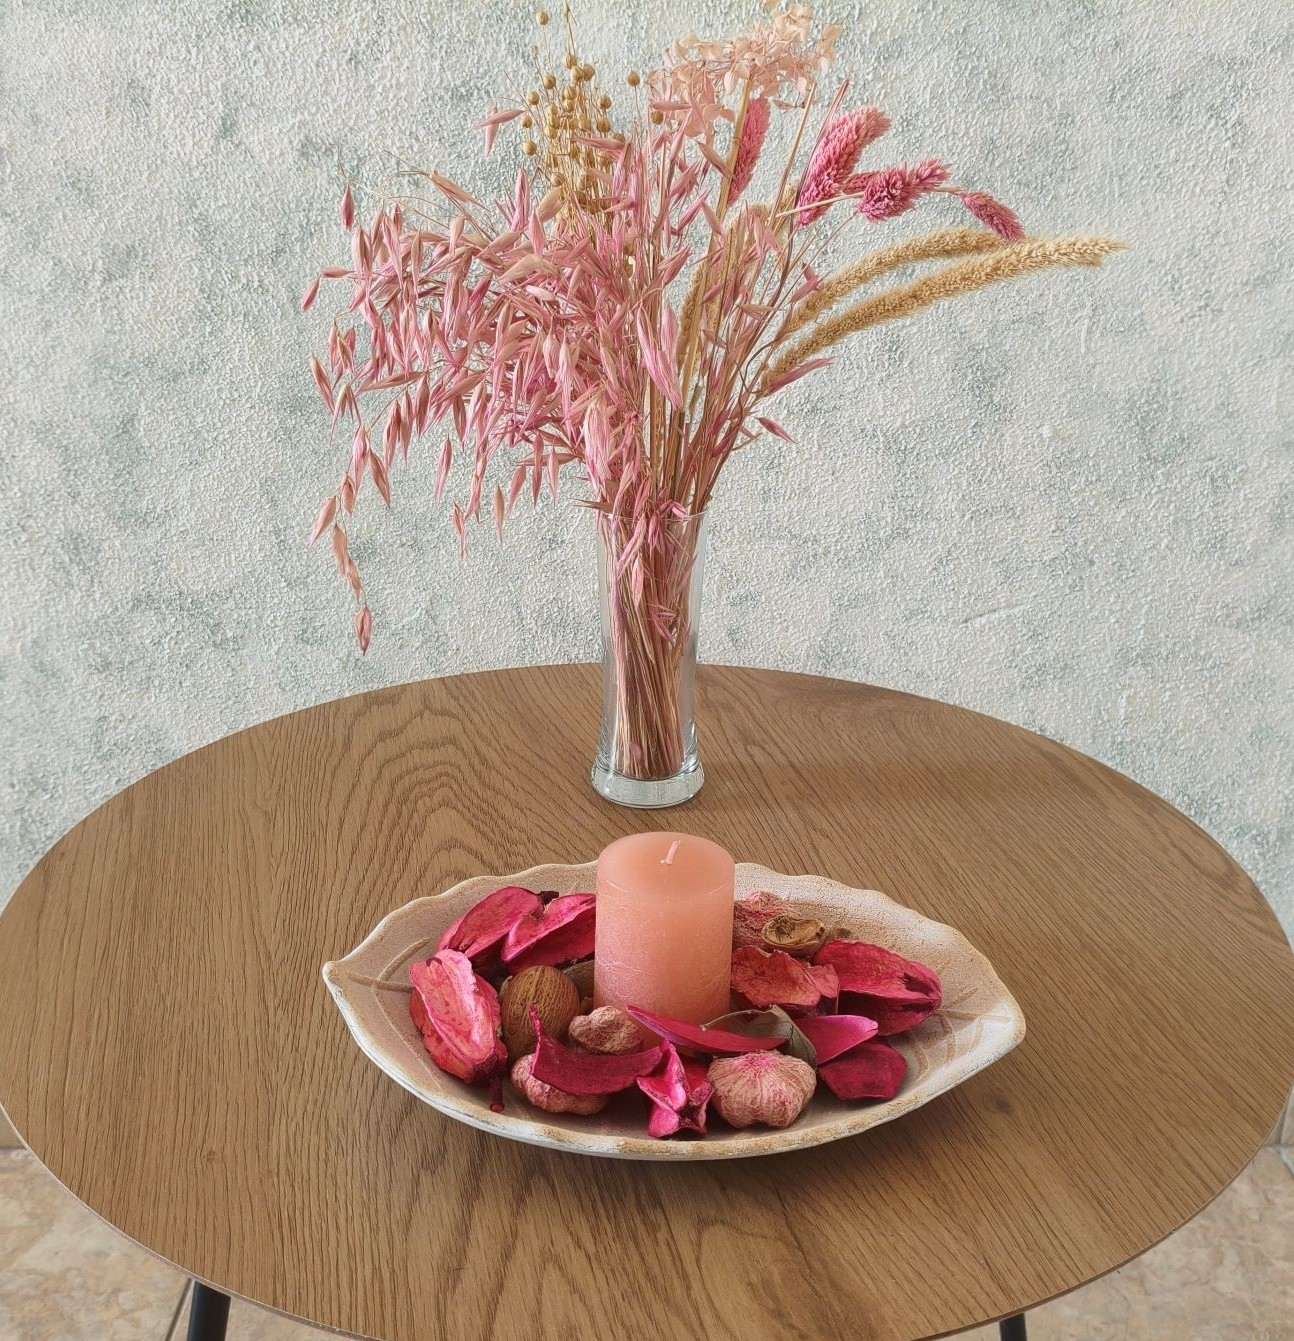
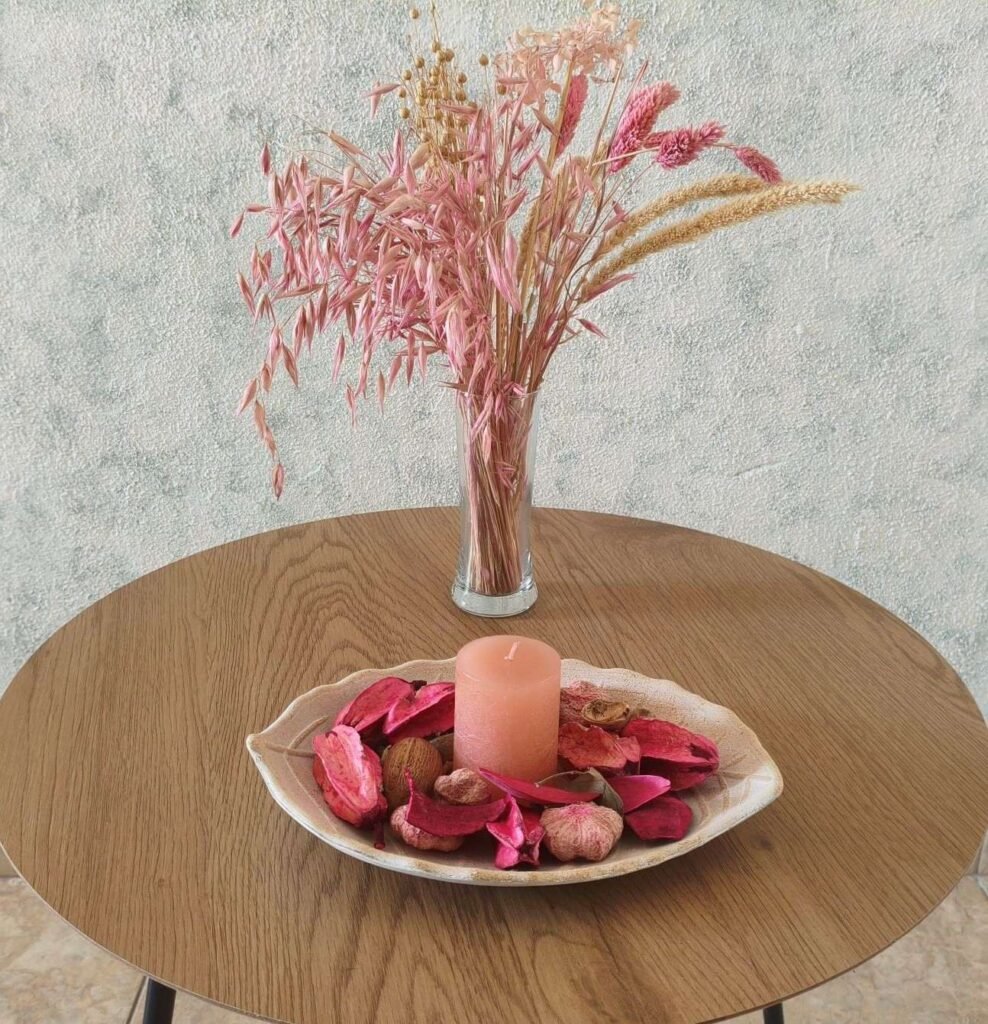
    Put candles of different sizes together on a tray or plate. Even very simple candles can create a beautiful arrangement.

    7. Decorate with dried flowers and fruits
    A beautiful bowl filled with dried flowers and fruits can easily become a simple and colourful centrepiece.

    8. Decorate with plants
    Plants are one of the easiest and most affordable ways to add personality and natural beauty to your home.

    9. Change your curtains’ look
    You don’t necessarily need new curtains. Tie them differently or add a simple fabric ribbon.

    10. Turn an old mirror into a unique piece
    Add rope, flowers, texture, paint, or another material around the frame.

    Sometimes leaving a little empty space makes a room look more beautiful, not less. You don’t have to fill every shelf and every table. Give your favorite pieces some space to breathe.

    Your favourite mug, a beautiful bottle, a collection of shells, a handmade necklace, a childhood object—anything with a story can become decoration.

    That’s one of the things I’d really want to say with this article: don’t decorate your home just to make it look beautiful. Decorate it with things that makes you happy.

  • How to Decorate Glass with Wall Putty: Easy DIY Vases

    How to Decorate Glass with Wall Putty: Easy DIY Vases

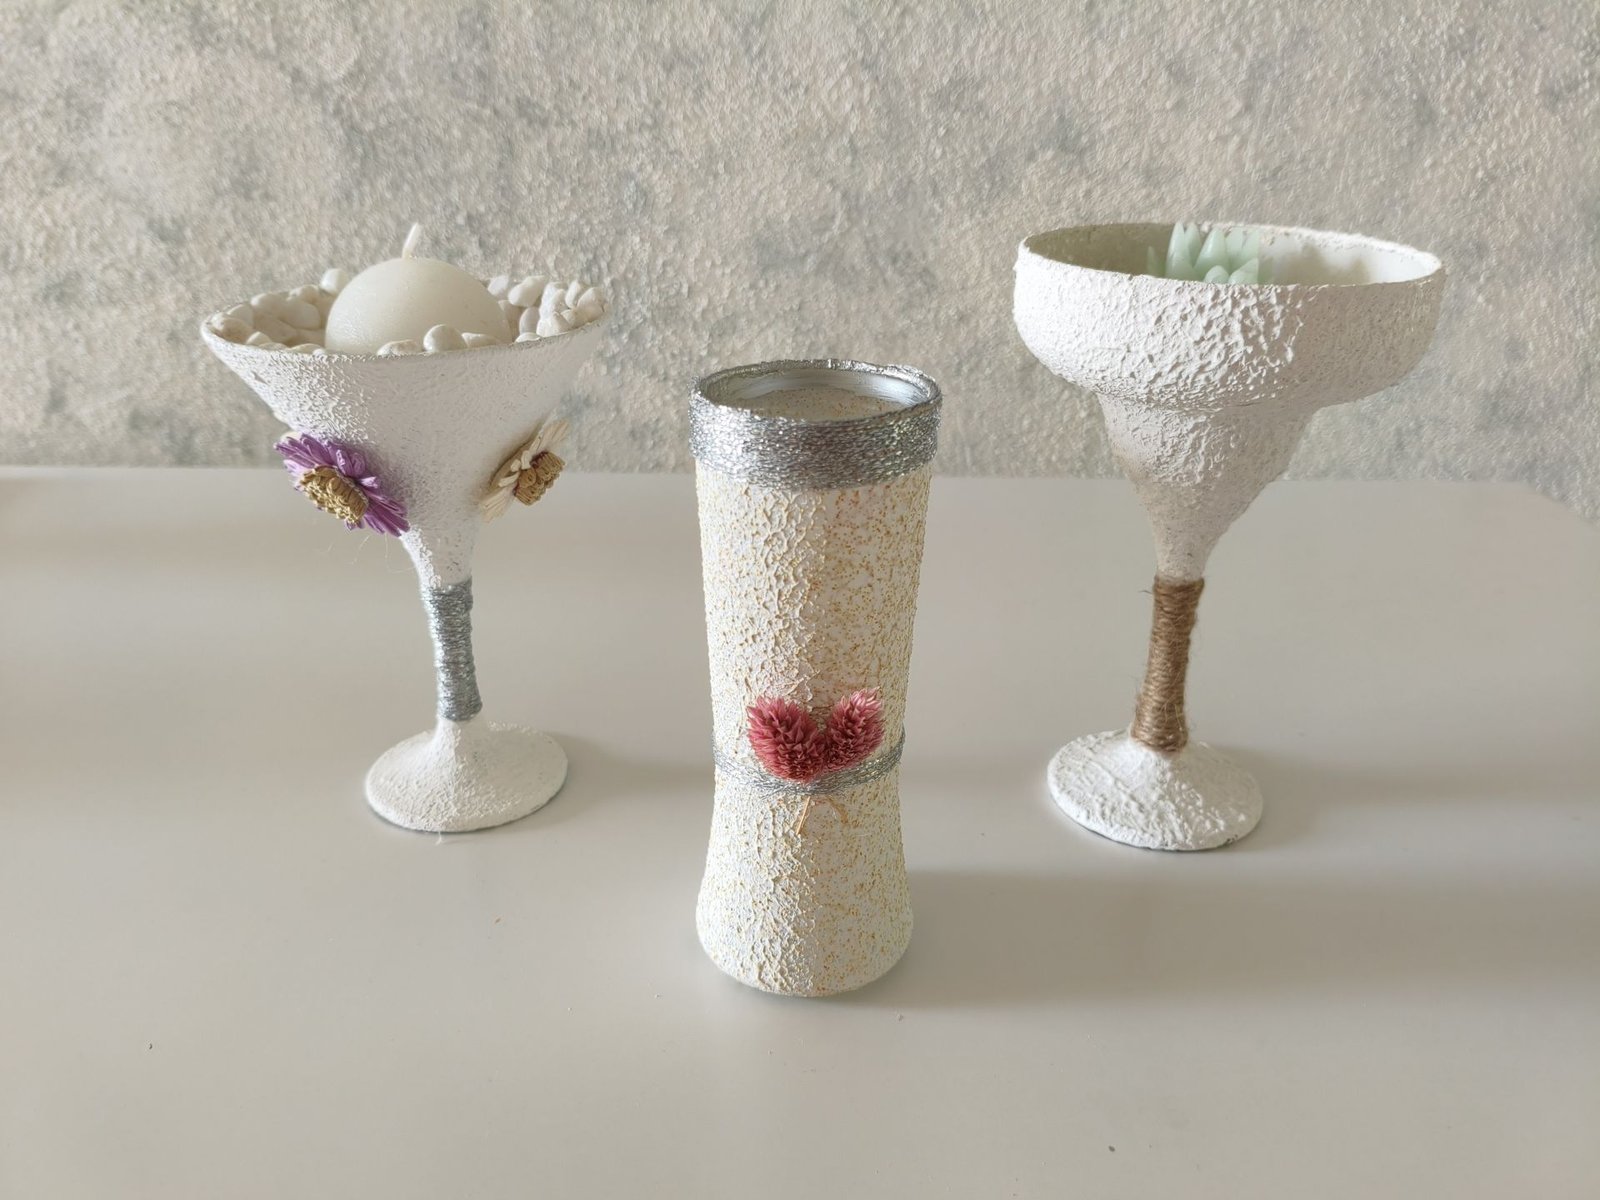
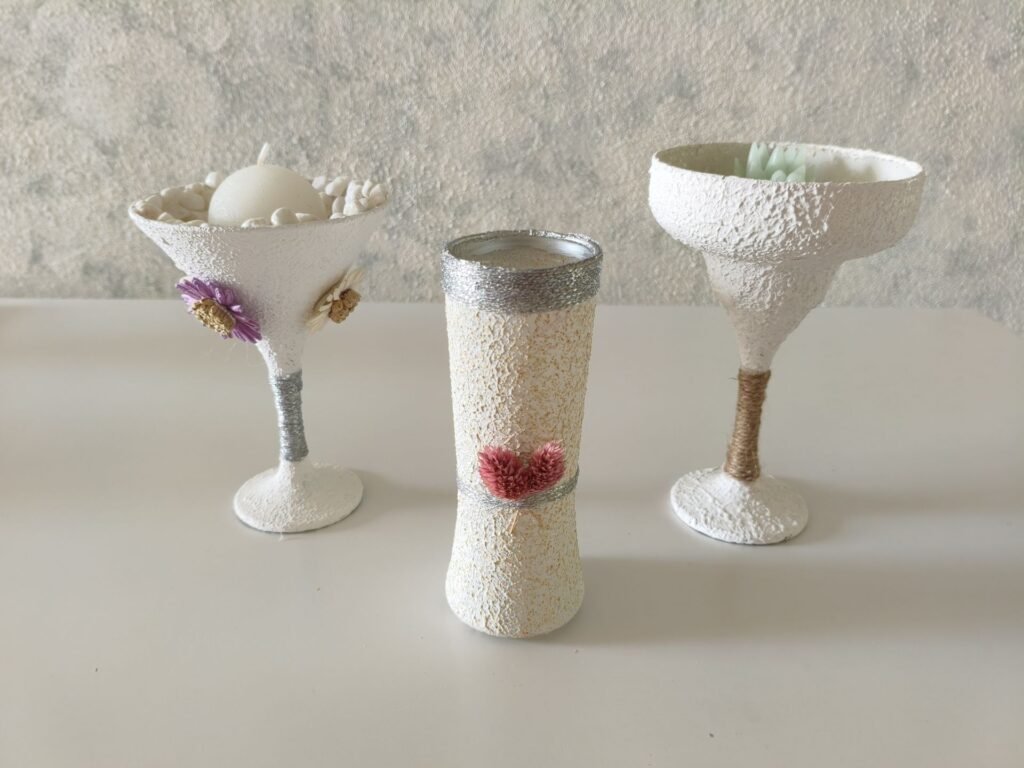
    Three DIY glass vases with wall putty texture

    Want to give an old glass bottle or jar a beautiful new look? Create your own DIY glass vases with this easy and affordable decorating idea. With a few simple materials and a little creativity, you can turn ordinary glass into unique home décor! The putty gives the glass an amazing textured finish that makes it look completely different, while a little acrylic colour brings the whole piece to life. It’s one of those unique DIY idea that makes you look at an ordinary glass and think, “Wait… I can make something beautiful out of this!”

    Want to learn more about putty? Read more on Wikipedia.

    • Glass vase or glass bottle
    • Wall putty
    • Acrylic colour
    • Mixing container
    • Spatula or palette knife
    • sponge
    • Sandpaper (if you want to smooth certain areas)
    • Protective gloves
    1. Clean the glass: Wash the vase and make sure it is completely dry and free from dust.
    2. Prepare the mixture: Mix well the wall putty with your chosen acrylic colour.
    3. Grab a sponge: Dip a clean sponge into the mixture and gently dab it onto the glass. Don’t brush it on—the dabbing motion is what creates that beautiful rough, textured surface.
    4. Build the texture: Continue dabbing the mixture over the glass until you have the texture and coverage you like. You can add more layers for a stronger effect.
    5. Let it dry: Leave the vase undisturbed until the putty is completely dry.
    6. Add your finishing touches: Once dry, add extra colours, details, or decorative effects to make your vase truly unique.
    7. Enjoy your DIY glass vases: Your ordinary glass vase has now been transformed into a beautiful textured piece of home décor!
    • Don’t apply a very thick layer: Thick layers take longer to dry and can crack more easily.
    • Don’t overload the sponge: Use a moderate amount of mixture and build the texture gradually.
    • Don’t rub the sponge: Dab gently rather than rubbing, otherwise you may lose the textured effect.
    • Don’t keep working on drying putty: Once it starts to dry, leave it alone rather than trying to smooth or reshape it.
    • Don’t rush the drying time: Let each layer dry completely before adding another one.
    • Don’t skip cleaning the glass: Dust, grease, or moisture can prevent the putty from adhering properly.
    • Don’t forget to protect your work area: Wall putty can be messy, so cover your surface before you start.

    This is where you can really have some fun! Once your vase has its textured base, you can decorate it with almost anything you like. Try adding dried flowers, decorative threads, ribbons, beads, shells, or even small pieces of fabric. You can also experiment with different colours and textures to create a completely different look. There are no rules here—just let your creativity take over and turn a simple glass vase into something that feels completely yours!

    One thing I have learned through the years is that you don’t need to spend a lot of money to make your home beautiful and unique. Sometimes the most ordinary things can become the most special ones when you add a little creativity. Those simple DIY glass vases is a perfect example—you start with something inexpensive and turn it into a piece of décor that looks completely different and truly feels like your own. So before you buy something new, look around your home and see what you already have. With this unique DIY idea you might be surprised by what a little imagination can create!

    Want a visual guide? See my YouTube tutorial: From Simple Glass to Beautiful Vase: Easy DIY Home Decor Idea.

  • How to Make the Perfect Cement Mix for DIY Decorations

    How to Make the Perfect Cement Mix for DIY Decorations

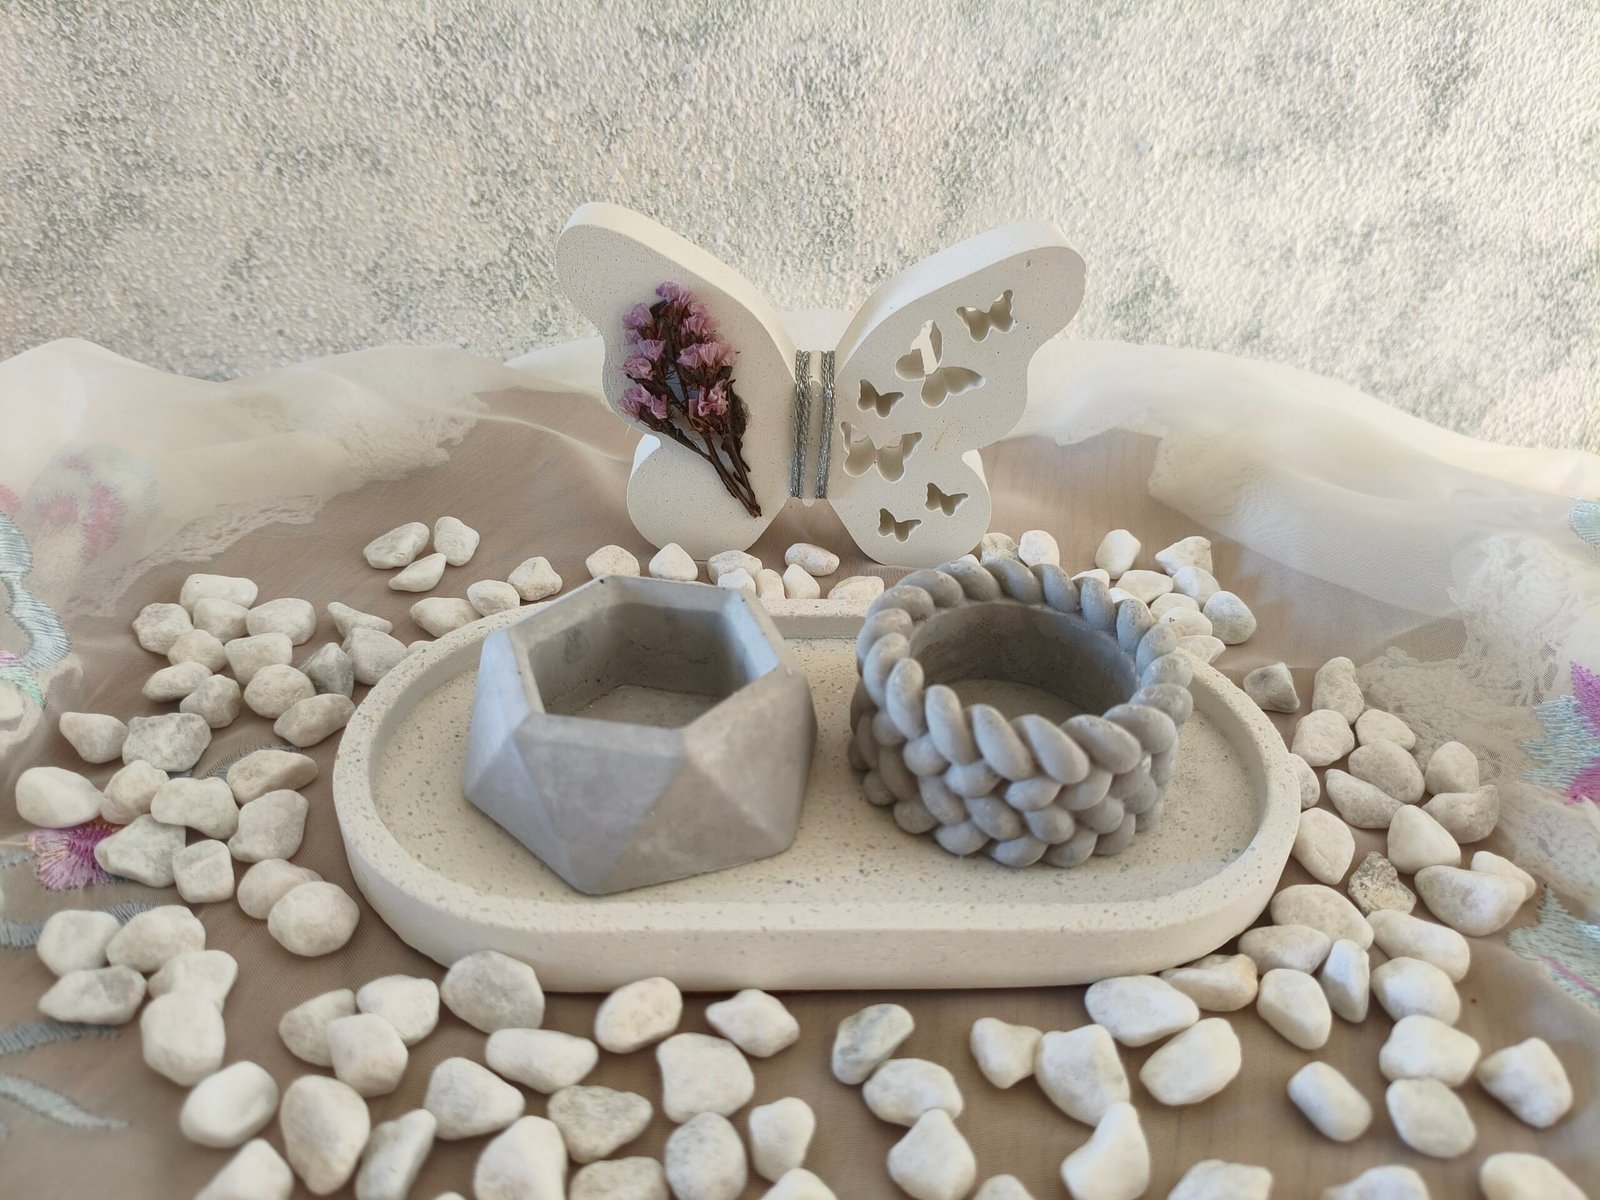
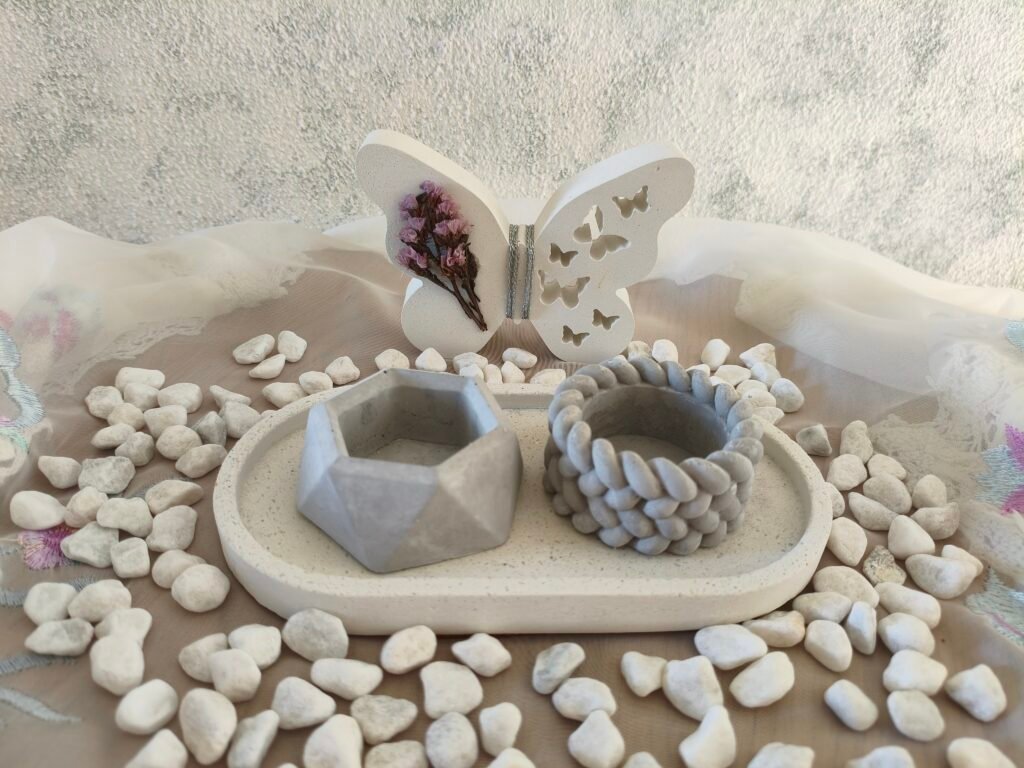
    cement items on a table with a perfect decorative cement mix

    Think making decorative cement mix items is difficult? With this cement mix, it’s hard to go wrong! It’s actually much easier than most people imagine, and you don’t need to be an expert to create something beautiful. With a few simple ingredients and the right mix, you can make stunning trays, candle holders, planters, and other unique décor that looks like it came from an expensive home décor store.

    It’s fun, surprisingly easy, and a wonderful way to add a personal touch to any home! Cement décor is modern, elegant, and timeless, making it a wonderful choice for every decorating style. Once you make your first piece, you’ll be surprised at how fun and rewarding this craft can be!

    For most of my projects, I use:

    • 4 parts white cement
    • 3 parts marble powder
    • Water (added gradually until the mixture reaches a smooth, creamy mixture)
    • A few drops of dish soap
    • A small amount of cement additive
    • White Cement is the main ingredient that gives your project its strength and durability.
    • Marble powder creates a much smoother finish, making the surface easier to sand and giving your finished piece a more elegant, professional look.
    • Water activates the cement and binds everything together. Always add it slowly—you can add more if needed, but you can’t take it out once it’s mixed.
    • Dish soap helps reduce air bubbles in the mixture, making it easier to pour into molds and resulting in a smoother surface.
    • Cement additive improves the strength of the finished piece and can help reduce cracking, making your decorations more durable. {Its not necessary but helps a lot}

    Mix the cement and marble powder thoroughly before adding any liquid ingredients. Then add the water gradually, followed by the dish soap and cement additive. Stir until the mixture is smooth and lump-free. It should be thick enough to hold together but still flow easily into your mold.

    Every mold is a little different, so you may need to adjust the amount of water slightly. Take your time—the perfect mixture is one of the biggest secrets to achieving beautiful results.

    With this simple decorative cement mix , you can create strong, smooth, and professional-looking decorative cement mix pieces that are perfect for painting, sealing, or leaving in their natural cement finish.

    Measure carefully. Using the correct ingredient ratio is the secret to consistent results.

    Add water slowly. It’s much easier to add a little more water than to fix a mixture that’s too runny.

    Mix thoroughly. Stir until the mixture is smooth and free of lumps for the best finish.

    Tap the mold. Gently tap the mold on your work surface after pouring to release trapped air bubbles.

    Wear protective gear. Always wear gloves and a dust mask when handling dry cement and marble powder.

    Be patient. Let your project cure completely before removing it from the mold. Rushing this step can cause chips or cracks.

    Avoid extreme temperatures. Let your pieces cure in a cool, dry place away from direct sunlight for the best results.

    Seal your finished piece. Applying a sealer helps protect your decoration from stains and moisture while making it last even longer.

    When I made my first decorative cement mix piece, I couldn’t believe how easy and enjoyable the process was. Like many beginners, I thought working with cement would be messy, difficult, and only for experienced crafters—but I was completely wrong! With a little patience and the right decorative cement mix, I started creating beautiful pieces and even today, it’s one of my favourite crafts because every project feels unique. My advice is simple: don’t be afraid to give it a try. Your first piece doesn’t have to be perfect—it just has to be yours, and you might discover a new hobby that you’ll love for years to come.

  • Brighten Up Your Spaces: DIY Summer Home Decor Ideas

    Brighten Up Your Spaces: DIY Summer Home Decor Ideas

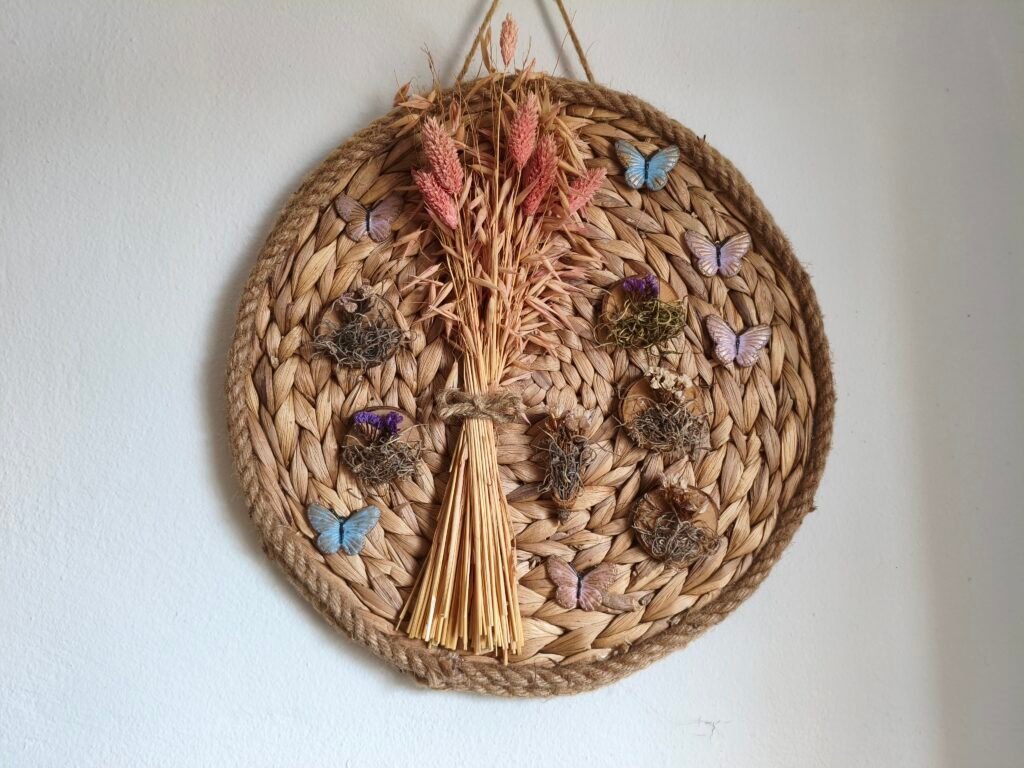
    Wall hanging suitable for summer home decor

    Making your home feel bright and beautiful this summer is easier than you could ever imagine! Bring sun and sea into your space with simple DIY summer home decor ideas. The smallest changes often make the biggest difference. You don’t need to spend a lot to transform your space; small, thoughtful changes can make a significant impact.

    Bring the beauty of nature indoors by decorating with natural elements and this is a wonderful way to connect with the season. Consider using fresh flowers, vibrant plants, or handmade ceramic vases filled with colourful blooms. You can create your own vases by painting glass jars or upcycling old containers, giving them a unique summer flair. Additionally, using shells or driftwood in your decor can bring a bit of coastal charm into your home.These simple touches add texture, colour, and a relaxed summer atmosphere without costing a fortune. Best of all, nature provides timeless decorations that never go out of style!

    One of the easiest ways to give your home a fresh summer feel is by lightening your colour palette. Soft whites, warm creams, sandy beiges, ocean blues, and gentle greens instantly make a space feel brighter, cooler, and more open. You don’t need to repaint your walls—simply swapping cushion covers, table runners, throws, or decorative accessories in lighter shades can completely transform the atmosphere and create a timeless summer look. Adding cushions with floral prints or throws in soft colours can instantly brighten your living space.

    Lastly, don’t forget to spruce up your outdoor areas too! A few colorful cushions and a creative table setting can turn your garden into a summer haven.

    – Decorate with fresh or dried flowers.

    – Add summer-scented candles.

    – Display seashells collected from the beach.

    – Decorate with lemons and citrus colours.

    – Use baskets made from natural fibres.

    – Add more indoor plants.

    – Switch to lighter cushion covers.

    – Hang a simple summer wreath.

    – Create a gallery wall with beach photos.

    – Decorate with driftwood.

    – Make DIY candle holders.

    – Create mini kokedamas.

    – Use linen table runners.

    – Set up a small summer drinks station

    The best time to refresh your home is now! You don’t have to wait for a special occasion or spend a fortune to create a space you’ll love. Start with one small change—a handmade decoration, a beautiful plant, or a colourful summer accent—and enjoy how even the simplest ideas can make your home feel brighter, happier, and full of summer charm.