
Table of Contents
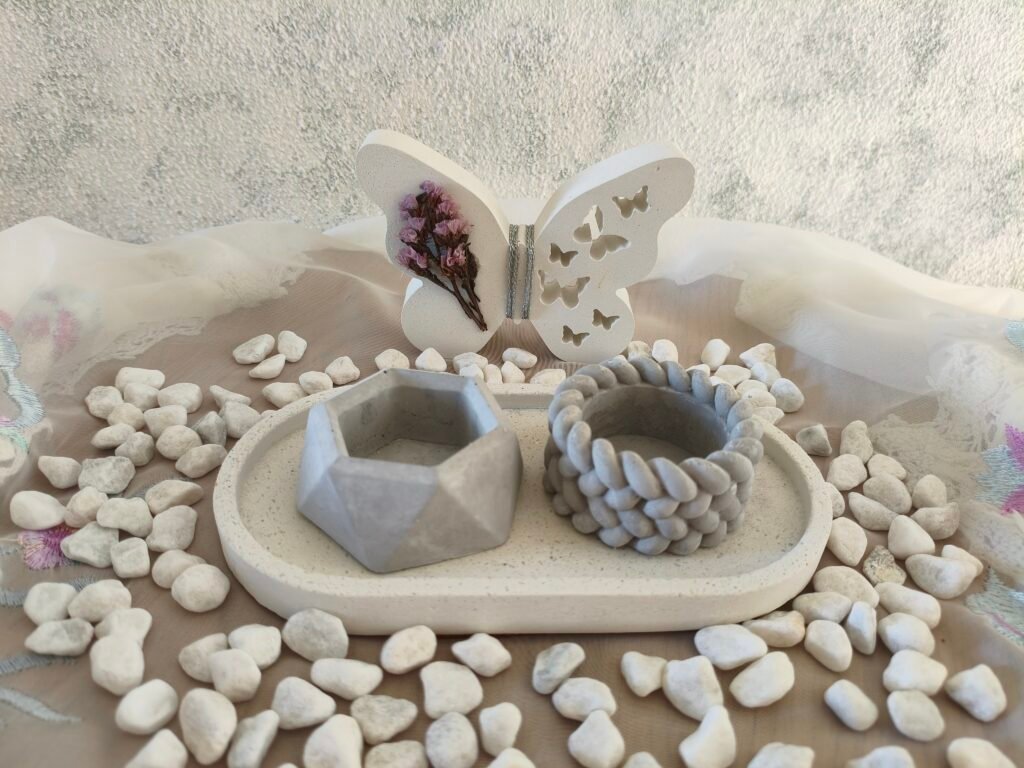
Think making decorative cement mix items is difficult? With this cement mix, it’s hard to go wrong! It’s actually much easier than most people imagine, and you don’t need to be an expert to create something beautiful. With a few simple ingredients and the right mix, you can make stunning trays, candle holders, planters, and other unique décor that looks like it came from an expensive home décor store.
It’s fun, surprisingly easy, and a wonderful way to add a personal touch to any home! Cement décor is modern, elegant, and timeless, making it a wonderful choice for every decorating style. Once you make your first piece, you’ll be surprised at how fun and rewarding this craft can be!
My Cement Recipe
For most of my projects, I use:
- 4 parts white cement
- 3 parts marble powder
- Water (added gradually until the mixture reaches a smooth, creamy mixture)
- A few drops of dish soap
- A small amount of cement additive
Why These Ingredients?
- White Cement is the main ingredient that gives your project its strength and durability.
- Marble powder creates a much smoother finish, making the surface easier to sand and giving your finished piece a more elegant, professional look.
- Water activates the cement and binds everything together. Always add it slowly—you can add more if needed, but you can’t take it out once it’s mixed.
- Dish soap helps reduce air bubbles in the mixture, making it easier to pour into molds and resulting in a smoother surface.
- Cement additive improves the strength of the finished piece and can help reduce cracking, making your decorations more durable. {Its not necessary but helps a lot}
Mixing Tips
Mix the cement and marble powder thoroughly before adding any liquid ingredients. Then add the water gradually, followed by the dish soap and cement additive. Stir until the mixture is smooth and lump-free. It should be thick enough to hold together but still flow easily into your mold.
Every mold is a little different, so you may need to adjust the amount of water slightly. Take your time—the perfect mixture is one of the biggest secrets to achieving beautiful results.
With this simple decorative cement mix , you can create strong, smooth, and professional-looking decorative cement mix pieces that are perfect for painting, sealing, or leaving in their natural cement finish.
Tips for Perfect Decorative Cement mix
– Measure carefully. Using the correct ingredient ratio is the secret to consistent results.
– Add water slowly. It’s much easier to add a little more water than to fix a mixture that’s too runny.
– Mix thoroughly. Stir until the mixture is smooth and free of lumps for the best finish.
– Tap the mold. Gently tap the mold on your work surface after pouring to release trapped air bubbles.
– Wear protective gear. Always wear gloves and a dust mask when handling dry cement and marble powder.
– Be patient. Let your project cure completely before removing it from the mold. Rushing this step can cause chips or cracks.
– Avoid extreme temperatures. Let your pieces cure in a cool, dry place away from direct sunlight for the best results.
– Seal your finished piece. Applying a sealer helps protect your decoration from stains and moisture while making it last even longer.
My Experience
When I made my first decorative cement mix piece, I couldn’t believe how easy and enjoyable the process was. Like many beginners, I thought working with cement would be messy, difficult, and only for experienced crafters—but I was completely wrong! With a little patience and the right decorative cement mix, I started creating beautiful pieces and even today, it’s one of my favourite crafts because every project feels unique. My advice is simple: don’t be afraid to give it a try. Your first piece doesn’t have to be perfect—it just has to be yours, and you might discover a new hobby that you’ll love for years to come.
Leave a Reply