Author: Martha

  • DIY Wine Bottle Candle Holder with Dried Lavender

    DIY Wine Bottle Candle Holder with Dried Lavender

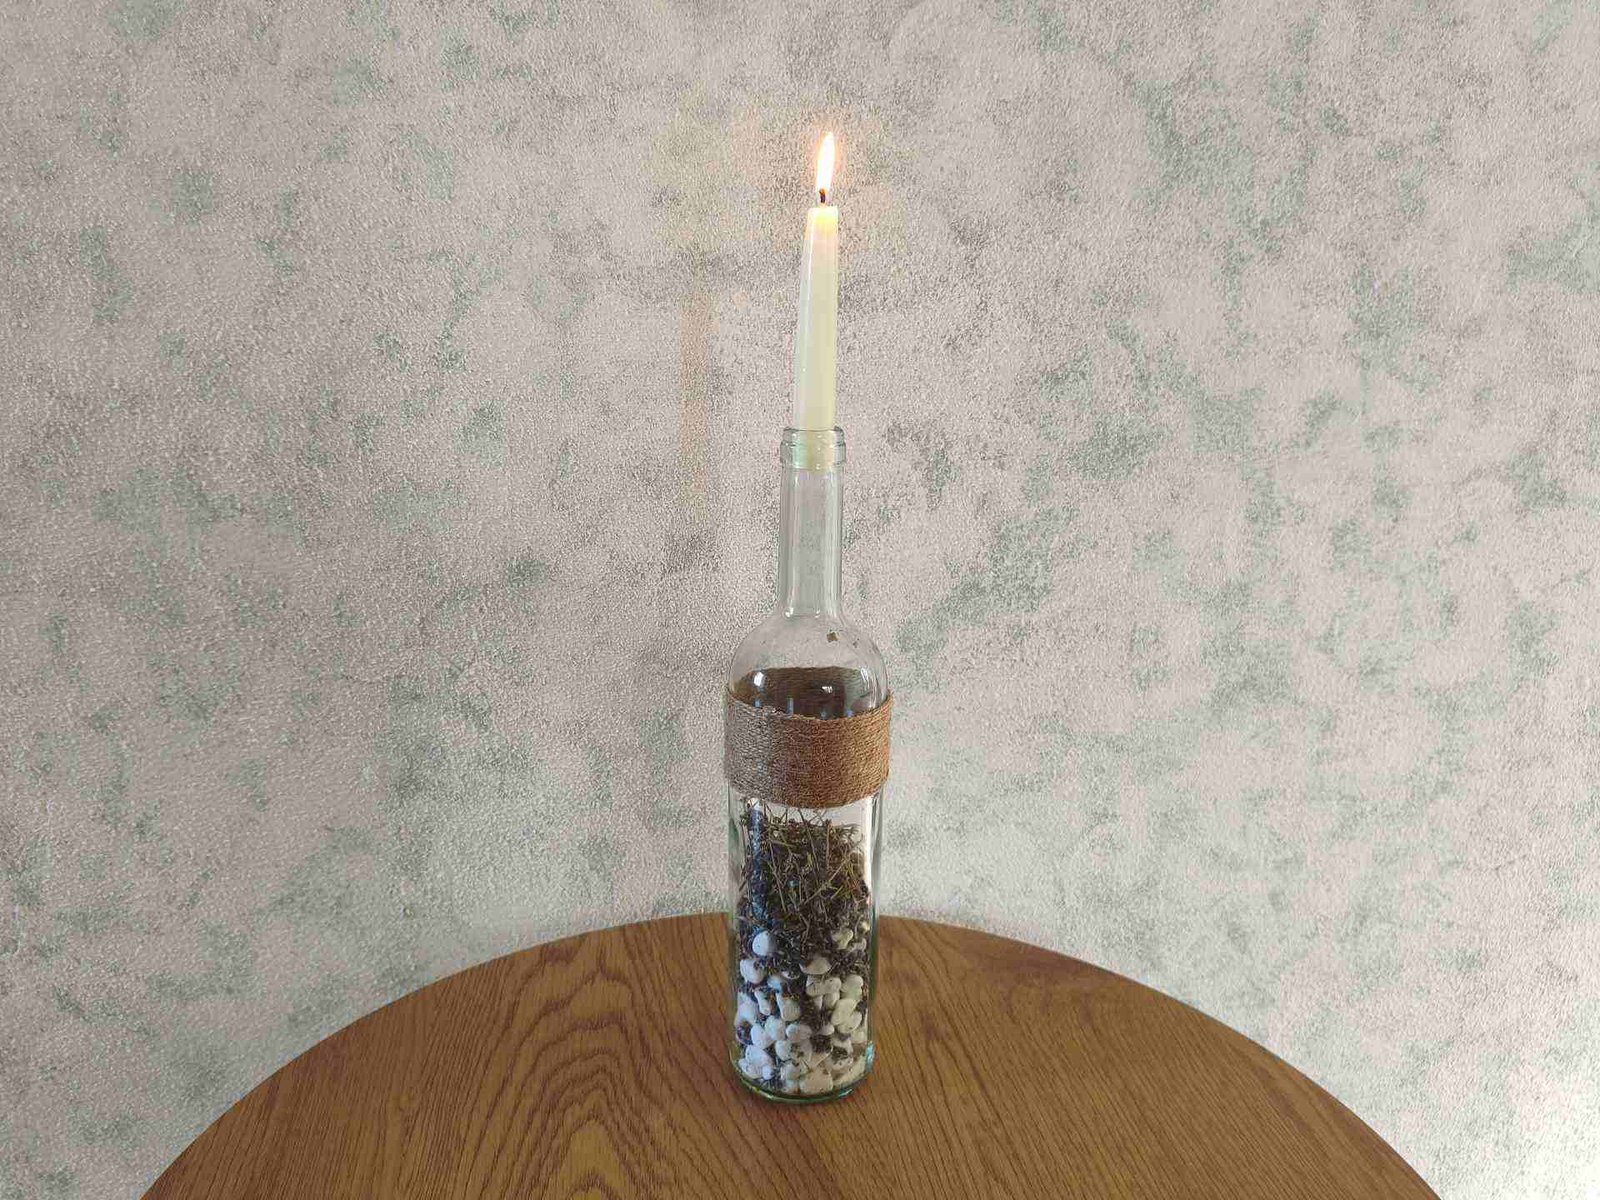
    DIY wine bottle candle holder

    A wine bottle candle holder is a beautiful way to turn an ordinary empty bottle into something truly special. With just a few simple materials, you can create a rustic and elegant piece of home decor using white stones, dried lavender, and natural rope.

    But this candle holder has a little secret. Once the candle is lit and the glass gently warms up, the beautiful fragrance of the dried lavender can begin to fill the air, adding another lovely touch to the warm glow of the candle.

    Simple, inexpensive, and made from materials that are easy to find, this is a DIY idea that proves you don’t need much to create something beautiful.

    • An empty wine bottle
    • Small white decorative stones
    • Dried lavender
    • Natural rope or jute twine
    • A candle that fits securely into the bottle opening

    1. Prepare the Bottle

    Make sure the wine bottle is completely clean and dry.

    2. Add the White Stones

    Fill the bottom with small white stones.

    The stones create a beautiful clean base and also add some weight to the bottle, making the finished candle holder more stable.

    3. Add the Dried Lavender

    Next, carefully add dried lavender above the stones.

    The combination of the white stones and purple lavender creates a simple but beautiful natural look.

    4. Decorate with Rope

    Wrap natural rope around the upper part of the bottle and secure it well. You can wrap it several times or create your own pattern depending on the style you want.

    I love using rope in DIY projects because it instantly gives glass a warmer, more rustic feeling.

    5. Add the Candle

    Finally, place a suitable candle securely into the bottle opening.

    Make sure the candle is stable before lighting it and place the candle holder on a stable, heat-resistant surface.

    And that’s it! The DIY idea is ready!

    Your old wine bottle has officially become a beautiful piece of home decor and turned into a beautiful wine bottle candle holder.

    And here comes my favourite part.

    When the candle is lit, the warmth around the bottle can gently release the natural fragrance of the dried lavender.

    So this isn’t just a candle holder you can look at. It can also add a beautiful scent to the atmosphere around it.

    The soft candlelight, the white stones, the lavender, and the natural rope create a cozy little decorative piece that feels especially beautiful in the evening.

    Because this project uses a real candle, always put safety first.

    • Make sure the candle is securely positioned and cannot easily fall.
    • Keep the candle away from the rope and other flammable decorations.
    • Place the candle holder on a stable, heat-resistant surface.
    • Never leave a burning candle unattended.
    • Keep it away from children, pets, curtains, and other flammable objects.
    • Allow the glass to cool before moving the candle holder.

    A little attention to safety means you can enjoy the beautiful atmosphere without worry.

    There is something special about turning an everyday object into something beautiful. A wine bottle candle holder is the perfect idea!

    With this DIY idea a wine bottle started its life as something completely different, but with a little creativity, it can become a charming piece of home decor with natural textures, soft candlelight, and the delicate scent of lavender.

    So before you throw that empty bottle away, take another look at it.

    You might already have the perfect piece of decor waiting to be created.

    One of my favorite things about DIY decorating is that beautiful home decor doesn’t always have to come from a store.

    Sometimes, an empty bottle, a few stones, some dried flowers, and a piece of rope are all you need to create something completely unique.

    And the best part?

    You can make it your own.

    Try different types of bottles, flowers, stones, or natural materials and create a candle holder that matches your home and your personality.

    Want a visual guide? See my YouTube tutorila: How to Make a Wine Bottle Candle Holder | Easy Upcycling DIY
  • 10 Cheap Ways to Make Your Home Look More Beautiful

    10 Cheap Ways to Make Your Home Look More Beautiful

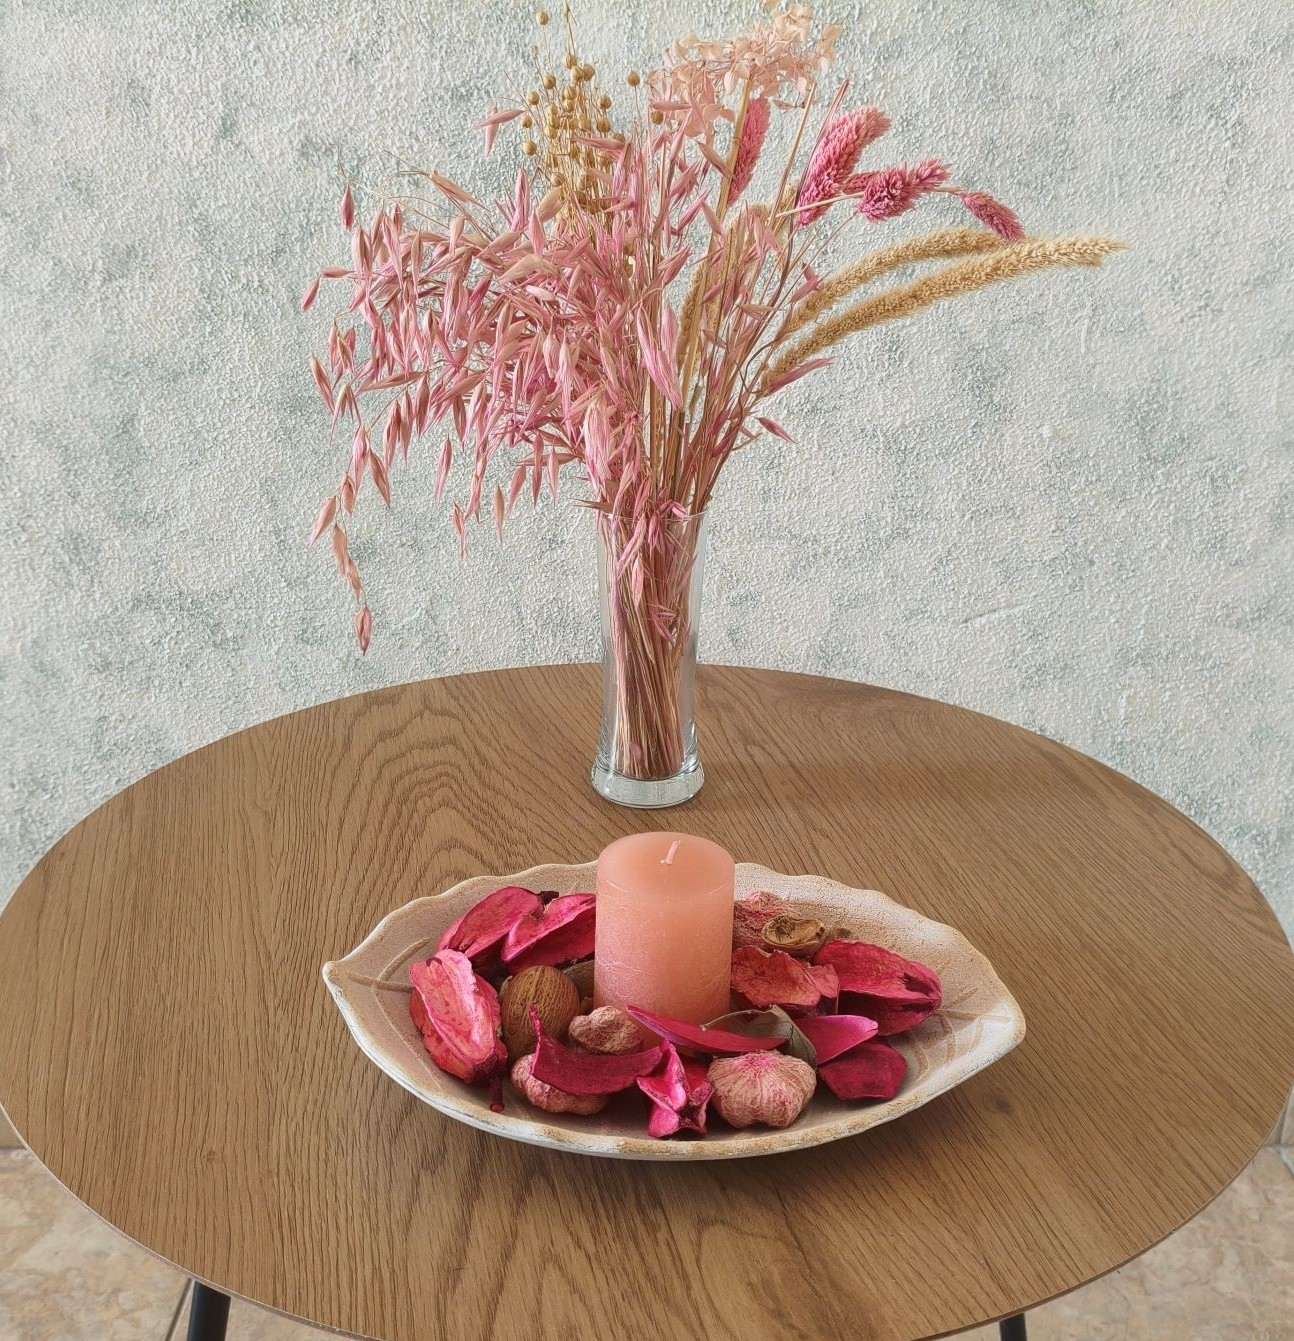
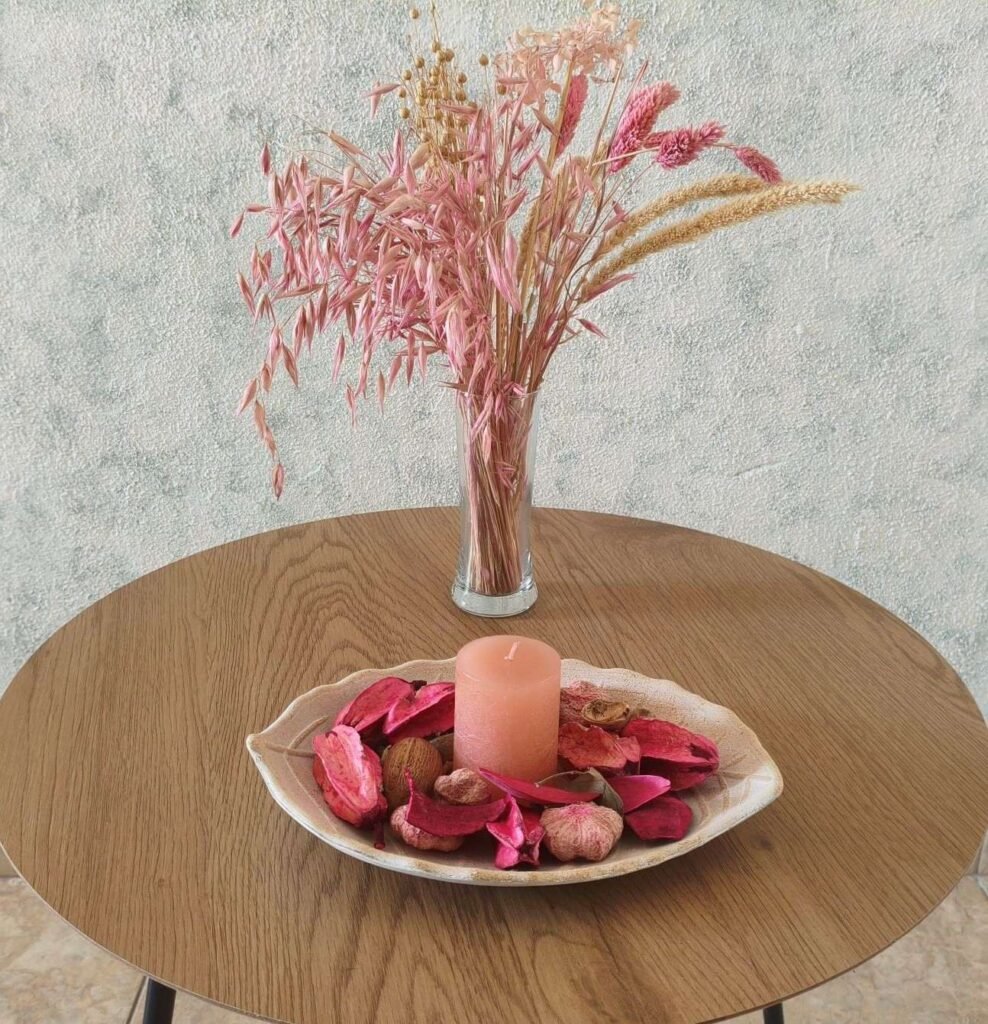
    DIY home idea to make your home look more beautiful

    Do you think you need to spend a lot of money to make your home look more beautiful? Think again! The most beautiful homes are often the ones that show the personality of the people who live in them. A handmade decoration, an old object you love, a favourite plant, or a little DIY project can say much more about you than an expensive decoration ever could.

    With a few simple ideas, some things you may already have at home, and a little imagination, you can give your space a fresh and personal look. In this article, I’ll show you 10 cheap ways to make your home look more beautiful—because creating a home you love doesn’t have to be expensive!

    1. Rearrange what you already have — almost free
    2. Decorate old glass jars — almost free
    3. Add dried flowers — very low cost
    4. Create a DIY centrepiece — low cost
    5. Give an old frame a makeover — low cost
    6. Add plants — low cost
    7. Make your own wall decoration — low cost
    8. Transform old bottles — almost free
    9. Create a cozy corner — using what you already own
    10. Add handmade decorations — the most personal option

    1. Make a DIY centrepiece with a glass jar
    Fill a jar with dried flowers, branches, stones, or even fairy lights.

    2. Create a beautiful entryway
    You don’t need much—a small tray, plant, mirror, or handmade decoration can make the entrance feel welcoming.

    3. Give an old chair a new life
    Paint it or decorate part of it. You can turn something boring into something very beautiful.

    4. Make a DIY wall hanging
    Use branches, yarn, dried flowers, fabric or anything else you have around.

    5. Create a little “happy corner”
    Choose one small area and fill it with things that make you happy—a plant, candle, photograph, handmade object, favourite book, or anything meaningful to you.

    6. Decorate with candles at different heights
    Put candles of different sizes together on a tray or plate. Even very simple candles can create a beautiful arrangement.

    7. Decorate with dried flowers and fruits
    A beautiful bowl filled with dried flowers and fruits can easily become a simple and colourful centrepiece.

    8. Decorate with plants
    Plants are one of the easiest and most affordable ways to add personality and natural beauty to your home.

    9. Change your curtains’ look
    You don’t necessarily need new curtains. Tie them differently or add a simple fabric ribbon.

    10. Turn an old mirror into a unique piece
    Add rope, flowers, texture, paint, or another material around the frame.

    Sometimes leaving a little empty space makes a room look more beautiful, not less. You don’t have to fill every shelf and every table. Give your favorite pieces some space to breathe.

    Your favourite mug, a beautiful bottle, a collection of shells, a handmade necklace, a childhood object—anything with a story can become decoration.

    That’s one of the things I’d really want to say with this article: don’t decorate your home just to make it look beautiful. Decorate it with things that makes you happy.

  • How to Decorate Glass with Wall Putty: Easy DIY Vases

    How to Decorate Glass with Wall Putty: Easy DIY Vases

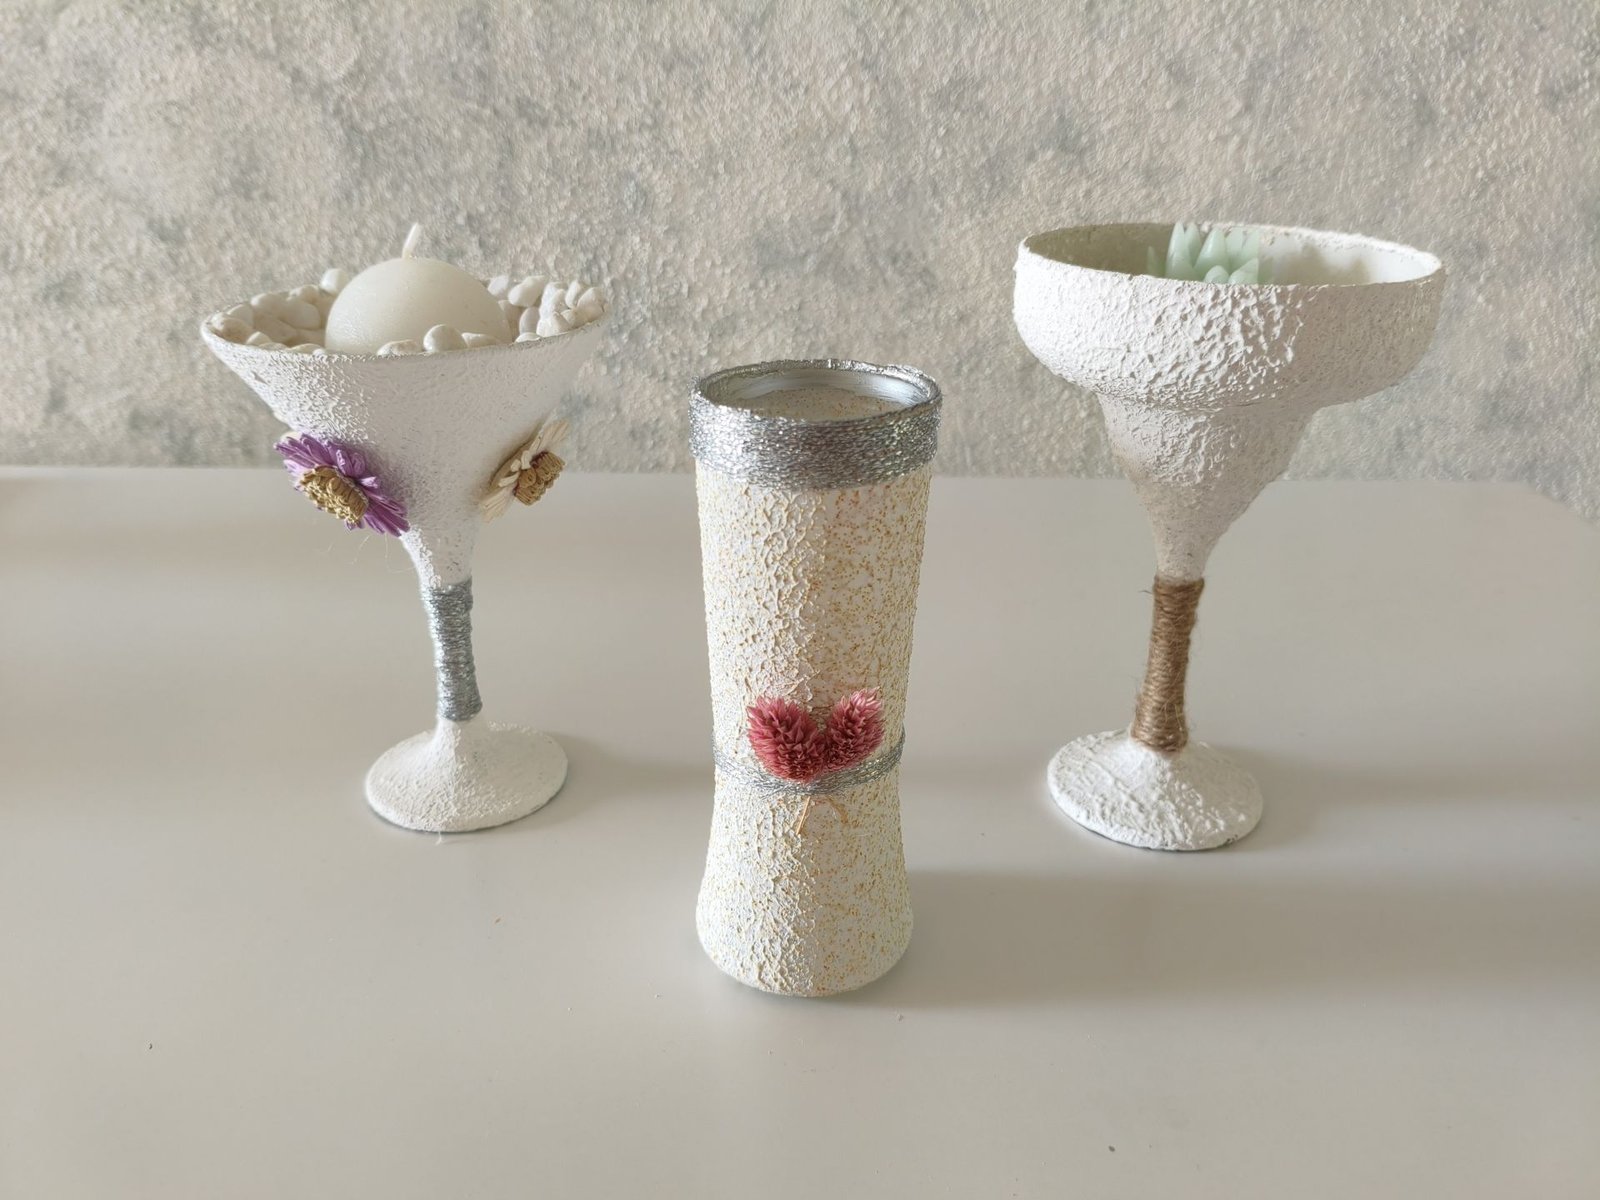
    Three DIY glass vases with wall putty texture

    Want to give an old glass bottle or jar a beautiful new look? Create your own DIY glass vases with this easy and affordable decorating idea. With a few simple materials and a little creativity, you can turn ordinary glass into unique home décor! The putty gives the glass an amazing textured finish that makes it look completely different, while a little acrylic colour brings the whole piece to life. It’s one of those unique DIY idea that makes you look at an ordinary glass and think, “Wait… I can make something beautiful out of this!”

    Want to learn more about putty? Read more on Wikipedia.

    • Glass vase or glass bottle
    • Wall putty
    • Acrylic colour
    • Mixing container
    • Spatula or palette knife
    • sponge
    • Sandpaper (if you want to smooth certain areas)
    • Protective gloves
    1. Clean the glass: Wash the vase and make sure it is completely dry and free from dust.
    2. Prepare the mixture: Mix well the wall putty with your chosen acrylic colour.
    3. Grab a sponge: Dip a clean sponge into the mixture and gently dab it onto the glass. Don’t brush it on—the dabbing motion is what creates that beautiful rough, textured surface.
    4. Build the texture: Continue dabbing the mixture over the glass until you have the texture and coverage you like. You can add more layers for a stronger effect.
    5. Let it dry: Leave the vase undisturbed until the putty is completely dry.
    6. Add your finishing touches: Once dry, add extra colours, details, or decorative effects to make your vase truly unique.
    7. Enjoy your DIY glass vases: Your ordinary glass vase has now been transformed into a beautiful textured piece of home décor!
    • Don’t apply a very thick layer: Thick layers take longer to dry and can crack more easily.
    • Don’t overload the sponge: Use a moderate amount of mixture and build the texture gradually.
    • Don’t rub the sponge: Dab gently rather than rubbing, otherwise you may lose the textured effect.
    • Don’t keep working on drying putty: Once it starts to dry, leave it alone rather than trying to smooth or reshape it.
    • Don’t rush the drying time: Let each layer dry completely before adding another one.
    • Don’t skip cleaning the glass: Dust, grease, or moisture can prevent the putty from adhering properly.
    • Don’t forget to protect your work area: Wall putty can be messy, so cover your surface before you start.

    This is where you can really have some fun! Once your vase has its textured base, you can decorate it with almost anything you like. Try adding dried flowers, decorative threads, ribbons, beads, shells, or even small pieces of fabric. You can also experiment with different colours and textures to create a completely different look. There are no rules here—just let your creativity take over and turn a simple glass vase into something that feels completely yours!

    One thing I have learned through the years is that you don’t need to spend a lot of money to make your home beautiful and unique. Sometimes the most ordinary things can become the most special ones when you add a little creativity. Those simple DIY glass vases is a perfect example—you start with something inexpensive and turn it into a piece of décor that looks completely different and truly feels like your own. So before you buy something new, look around your home and see what you already have. With this unique DIY idea you might be surprised by what a little imagination can create!

    Want a visual guide? See my YouTube tutorial: From Simple Glass to Beautiful Vase: Easy DIY Home Decor Idea.

  • Easy Memory Wire Bracelet for Beginners (Step-by-Step Tutorial)

    Easy Memory Wire Bracelet for Beginners (Step-by-Step Tutorial)

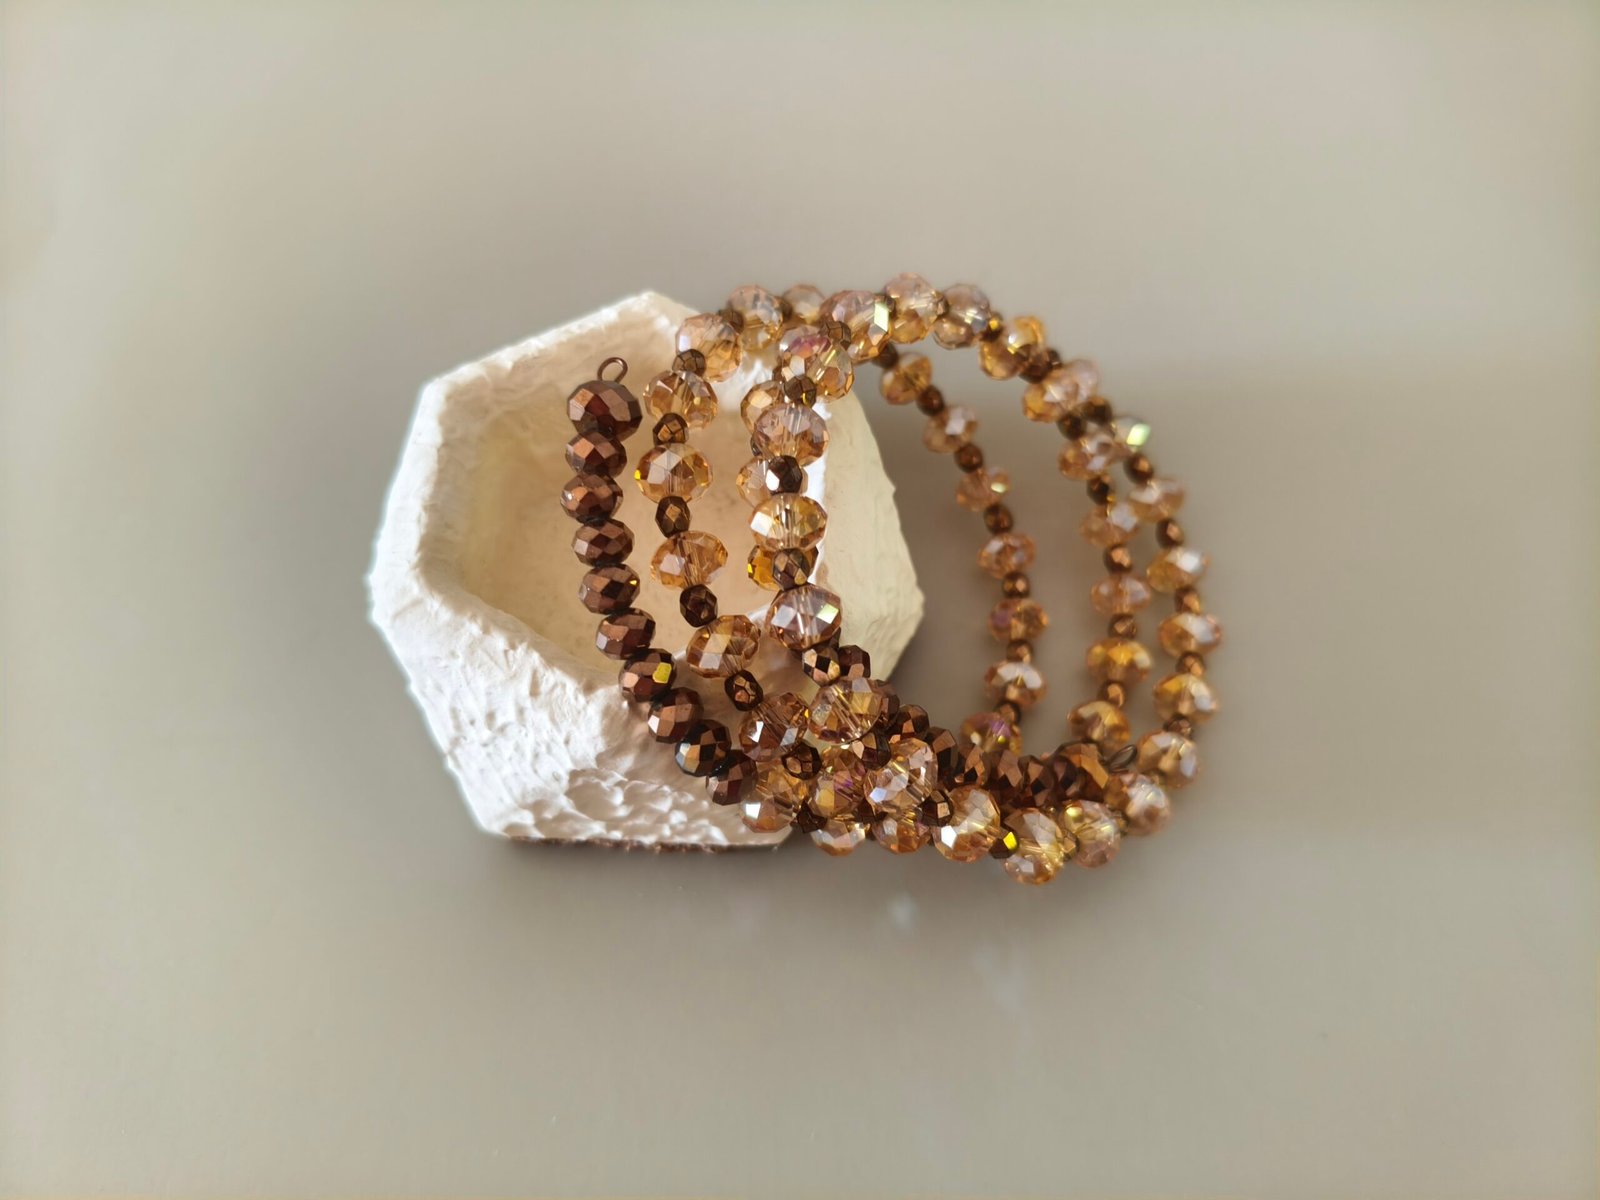
    A memory wire bracelet on a table

    Who says making jewellery has to be difficult? If you’ve never made a bracelet before, you’re in the right place! This memory wire bracelet is one of the easiest projects you can start with. All you need are a few colourful beads, a piece of memory wire, and a little creativity. In no time, you’ll have a beautiful handmade bracelet that looks like it came from a boutique!

    Memory wire is one of the easiest jewellery materials to work with because it already holds its shape. That means you don’t have to measure the perfect bracelet size or learn advanced wire-wrapping techniques. Simply add your favourite beads, create a loop at each end, and your bracelet is ready to wear. It’s a fun, stress-free project that helps beginners build confidence while creating something beautiful.

    • Memory wire – choose bracelet-size memory wire.
    • Beads – use any beads you love, as long as the holes are large enough to fit the wire.
    • Round-nose pliers – for making the loops at both ends.
    • Memory wire cutters – for cutting the wire safely and cleanly.
    • Your favourite colours and creativity!
    1. Cut the wire: Cut a piece of memory wire, leaving a little extra at the end.
    2. Make the first loop: Using round-nose pliers, create a small loop at one end of the wire.
    3. Choose your beads: Pick your favourite beads and decide on your colour combination or pattern.
    4. Add the beads: Thread the beads onto the wire until you reach the desired bracelet length.
    5. Make the second loop: Once you’re happy with your design, use the pliers to make another loop at the other end.
    6. Check your bracelet: Make sure all the beads are secure and the loops are closed properly.
    7. Wear and enjoy! Your beautiful handmade memory wire bracelet is ready to wear or give as a lovely handmade gift!
    • Choose beads with holes large enough to slide easily onto the wire.
    • Pick 2–3 colours for a balanced design.
    • Leave about 1 cm (½ inch) of wire at each end for making loops.
    • Use memory wire cutters, as regular jewellery cutters can be damaged.
    • Mix different bead sizes to create texture and interest.
    • Lay out your bead pattern before threading the wire.

    When I first started making jewellery, memory wire bracelets quickly became one of my favourite projects. They were simple enough to make in one sitting but always looked elegant and professional. Every bracelet I finished gave me the confidence to try something new, and before long, I was experimenting with different colours, beads, and styles. If you’re just beginning your jewellery-making journey, this is a wonderful project to start with—you’ll be amazed at what you can create with just a few simple materials.

  • How to Make the Perfect Cement Mix for DIY Decorations

    How to Make the Perfect Cement Mix for DIY Decorations

    cement items on a table with a perfect decorative cement mix

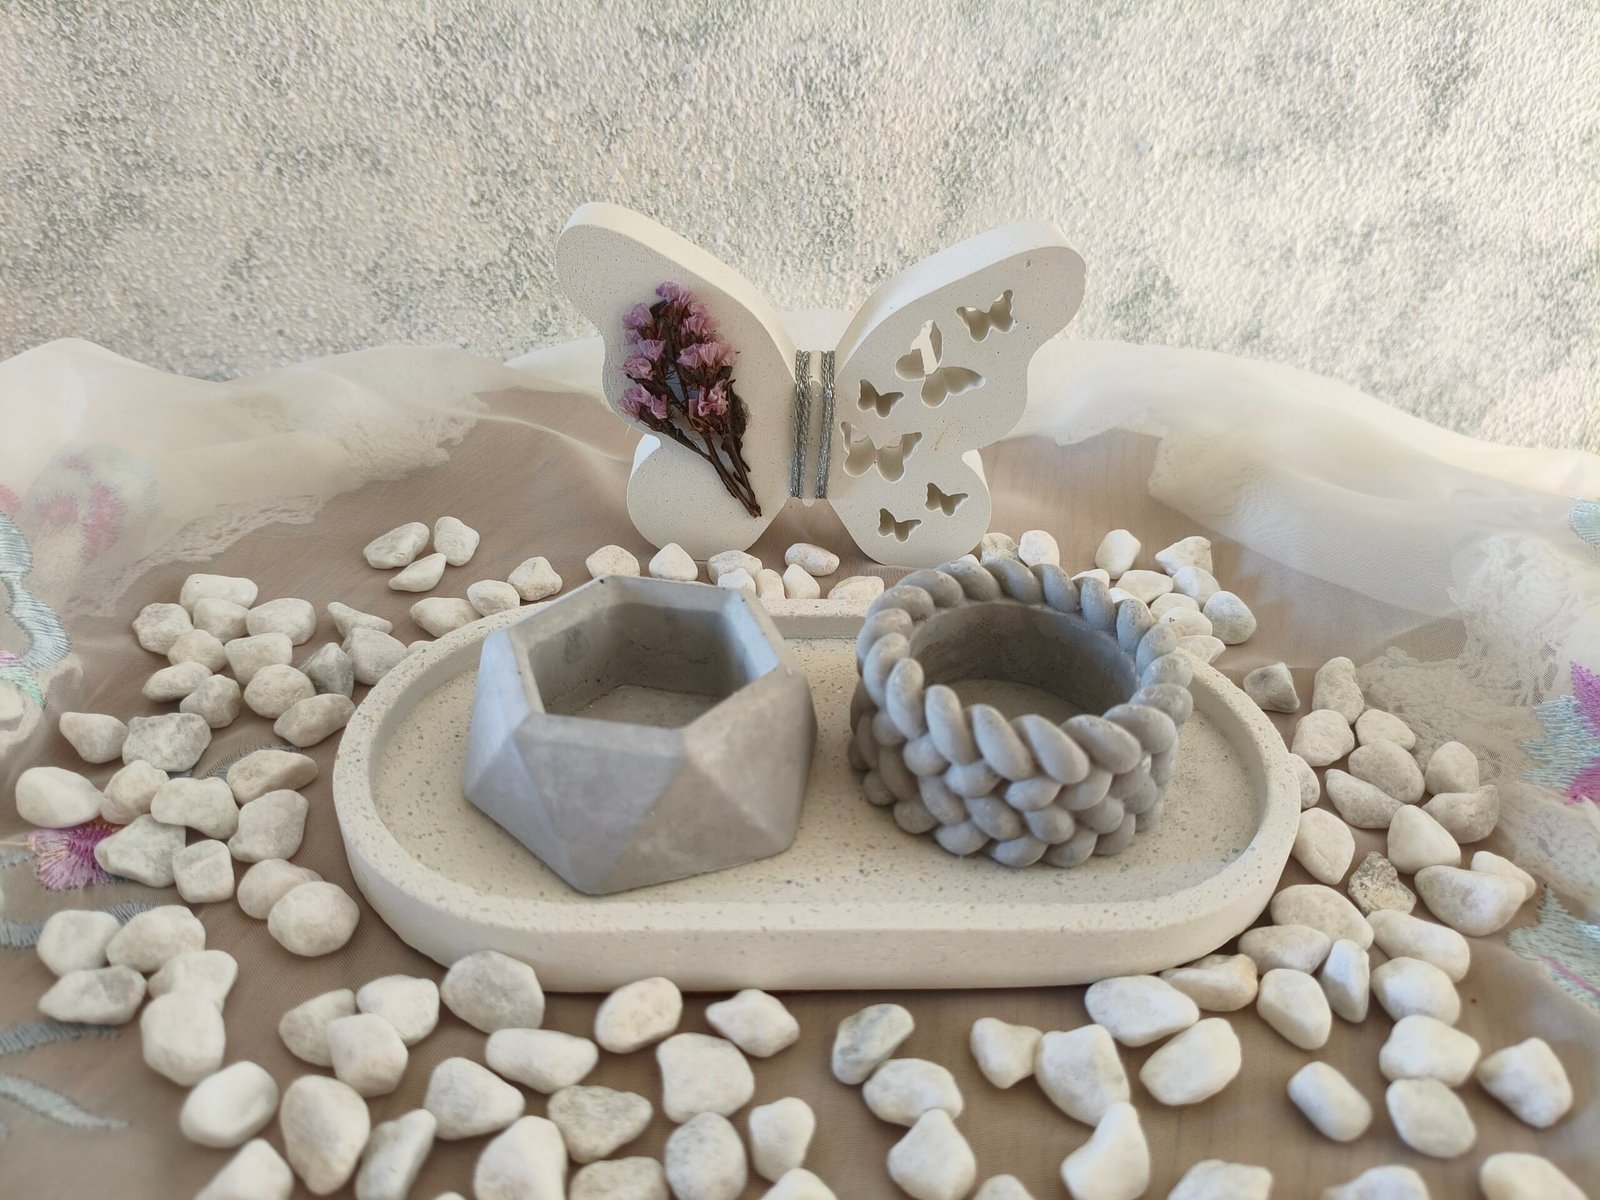
    Think making decorative cement mix items is difficult? With this cement mix, it’s hard to go wrong! It’s actually much easier than most people imagine, and you don’t need to be an expert to create something beautiful. With a few simple ingredients and the right mix, you can make stunning trays, candle holders, planters, and other unique décor that looks like it came from an expensive home décor store.

    It’s fun, surprisingly easy, and a wonderful way to add a personal touch to any home! Cement décor is modern, elegant, and timeless, making it a wonderful choice for every decorating style. Once you make your first piece, you’ll be surprised at how fun and rewarding this craft can be!

    For most of my projects, I use:

    • 4 parts white cement
    • 3 parts marble powder
    • Water (added gradually until the mixture reaches a smooth, creamy mixture)
    • A few drops of dish soap
    • A small amount of cement additive
    • White Cement is the main ingredient that gives your project its strength and durability.
    • Marble powder creates a much smoother finish, making the surface easier to sand and giving your finished piece a more elegant, professional look.
    • Water activates the cement and binds everything together. Always add it slowly—you can add more if needed, but you can’t take it out once it’s mixed.
    • Dish soap helps reduce air bubbles in the mixture, making it easier to pour into molds and resulting in a smoother surface.
    • Cement additive improves the strength of the finished piece and can help reduce cracking, making your decorations more durable. {Its not necessary but helps a lot}

    Mix the cement and marble powder thoroughly before adding any liquid ingredients. Then add the water gradually, followed by the dish soap and cement additive. Stir until the mixture is smooth and lump-free. It should be thick enough to hold together but still flow easily into your mold.

    Every mold is a little different, so you may need to adjust the amount of water slightly. Take your time—the perfect mixture is one of the biggest secrets to achieving beautiful results.

    With this simple decorative cement mix , you can create strong, smooth, and professional-looking decorative cement mix pieces that are perfect for painting, sealing, or leaving in their natural cement finish.

    Measure carefully. Using the correct ingredient ratio is the secret to consistent results.

    Add water slowly. It’s much easier to add a little more water than to fix a mixture that’s too runny.

    Mix thoroughly. Stir until the mixture is smooth and free of lumps for the best finish.

    Tap the mold. Gently tap the mold on your work surface after pouring to release trapped air bubbles.

    Wear protective gear. Always wear gloves and a dust mask when handling dry cement and marble powder.

    Be patient. Let your project cure completely before removing it from the mold. Rushing this step can cause chips or cracks.

    Avoid extreme temperatures. Let your pieces cure in a cool, dry place away from direct sunlight for the best results.

    Seal your finished piece. Applying a sealer helps protect your decoration from stains and moisture while making it last even longer.

    When I made my first decorative cement mix piece, I couldn’t believe how easy and enjoyable the process was. Like many beginners, I thought working with cement would be messy, difficult, and only for experienced crafters—but I was completely wrong! With a little patience and the right decorative cement mix, I started creating beautiful pieces and even today, it’s one of my favourite crafts because every project feels unique. My advice is simple: don’t be afraid to give it a try. Your first piece doesn’t have to be perfect—it just has to be yours, and you might discover a new hobby that you’ll love for years to come.

  • Jewellery Making for Beginners: Everything You Need to Get Started

    Jewellery Making for Beginners: Everything You Need to Get Started

    tools for making jewellery on on a wooden table. Jewellery making for beginners.

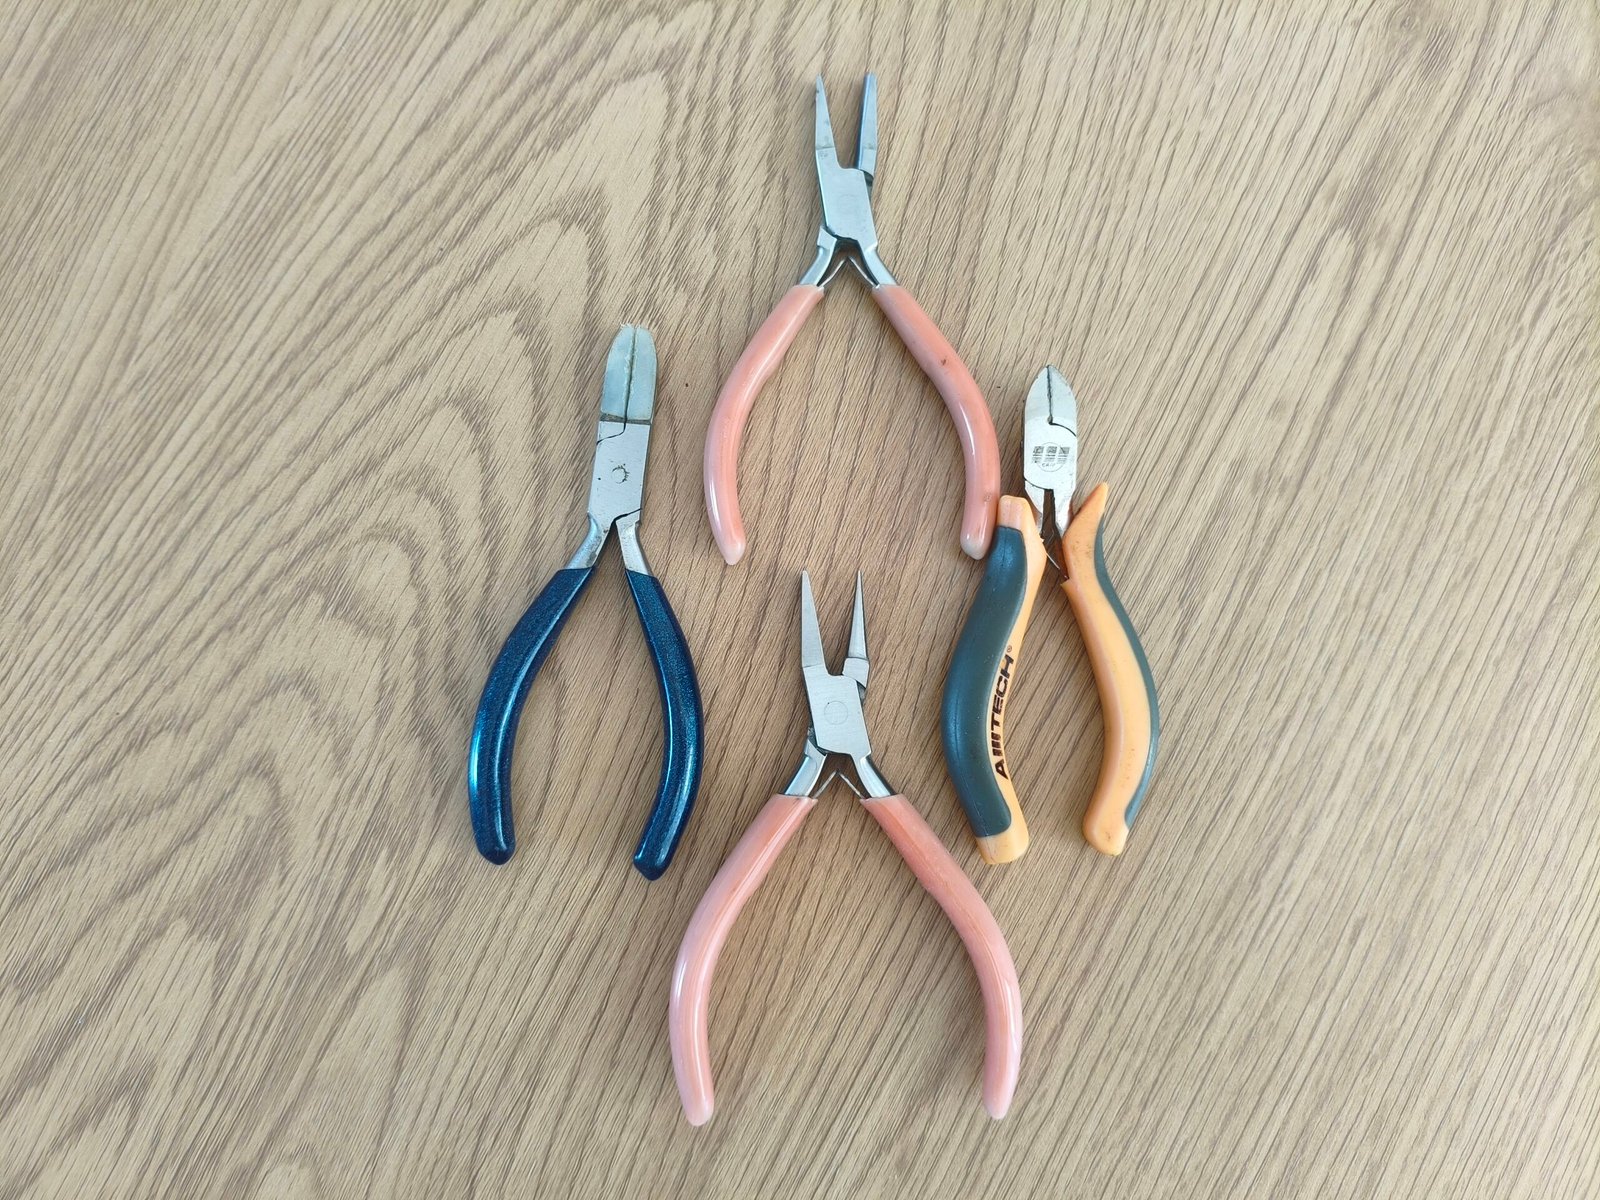
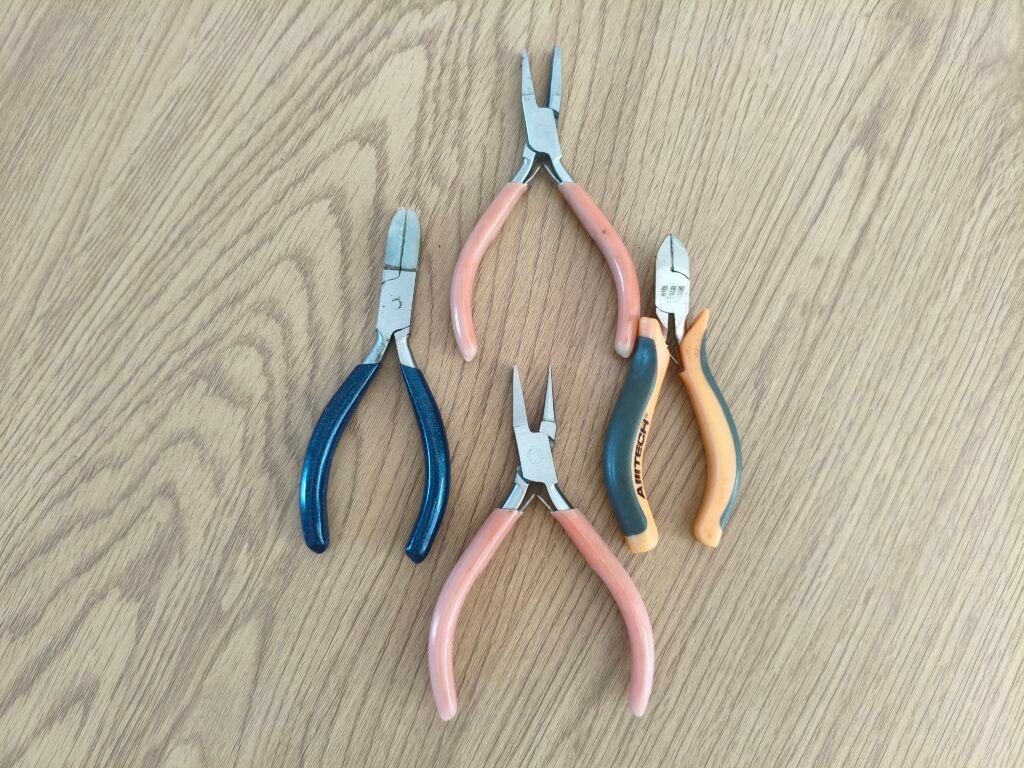
    Have you ever looked at a beautiful bracelet or necklace and thought, “I wish I could make that”? The good news is—you can! Jewellery making for beginners is more easier than you imagine, and you don’t need a professional studio or expensive equipment to get started. With a few essential tools and materials for jewellery making and a little creativity, you’ll be creating beautiful handmade jewellery in no time.

    Explain each one briefly.

    • Round-nose pliers
    • Chain-nose pliers
    • Flat-nose pliers
    • Wire cutters
    • Bead mat
    • Tweezers
    • Ruler
    • Beads
    • Jewellery wire
    • Elastic cord
    • Nylon cord
    • Head pins
    • Eye pins
    • Jump rings
    • Crimp beads
    • Clasps
    • Ear wires
    • Chains
    • Charms
    • Bead organiser
    • Glue
    • Measuring tape
    • Storage boxes

    One of the biggest mistakes beginners make is trying to create complicated jewellery straight away. Instead, start with simple designs that are fun and easy to complete. Every finished project will teach you something new and motivate you to keep creating. Before long, you’ll be making pieces you never thought possible! Jewellery making for beginners it’s easier than you imagine!

    Recommend starting with:

    • Stretch bracelets
    • Beaded bracelets
    • Simple necklaces
    • Earrings
    • Charm bracelets
    • Keychains
    • Bookmarks

    Examples:

    • Buying too many supplies
    • Choosing poor-quality tools
    • Skipping measurements
    • Using the wrong wire
    • Forgetting to close jump rings properly

    Before you go, I’d like to share something from my own experience. Many years ago, I picked up a few simple materials and decided to make something with my own hands. At the time, I had no idea that one small creative project would completely change my life. It wasn’t just about making jewellery—it was about discovering a passion that filled my days with creativity, gave me confidence, and taught me to enjoy the little moments.

    That’s why I always encourage beginners to start, even if their first project isn’t perfect. You never know where that first bracelet, necklace, or pair of earrings might lead. It could become your favourite hobby, a creative escape, or even a lifelong passion. Every journey begins with a single step, and yours could begin today!

  • Kokedama Wedding Favours: The Most Beautiful Eco-Friendly Gift for Guests

    Kokedama Wedding Favours: The Most Beautiful Eco-Friendly Gift for Guests

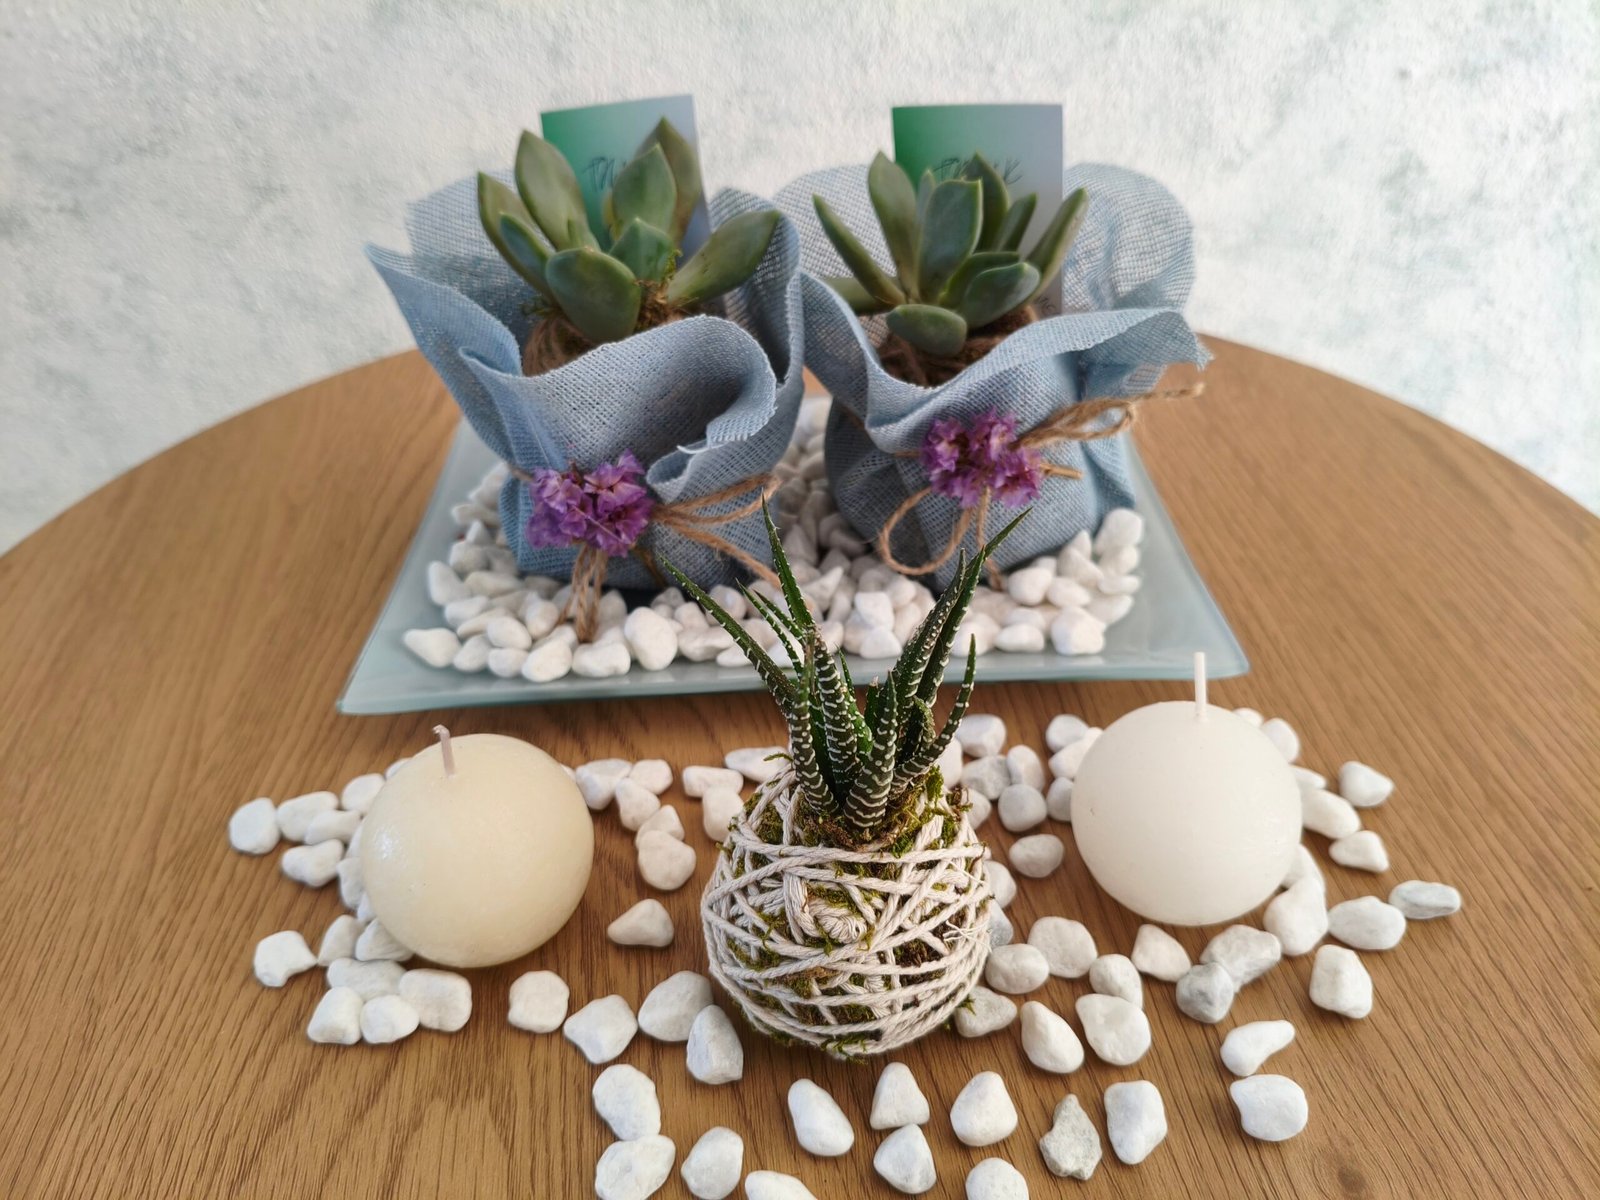
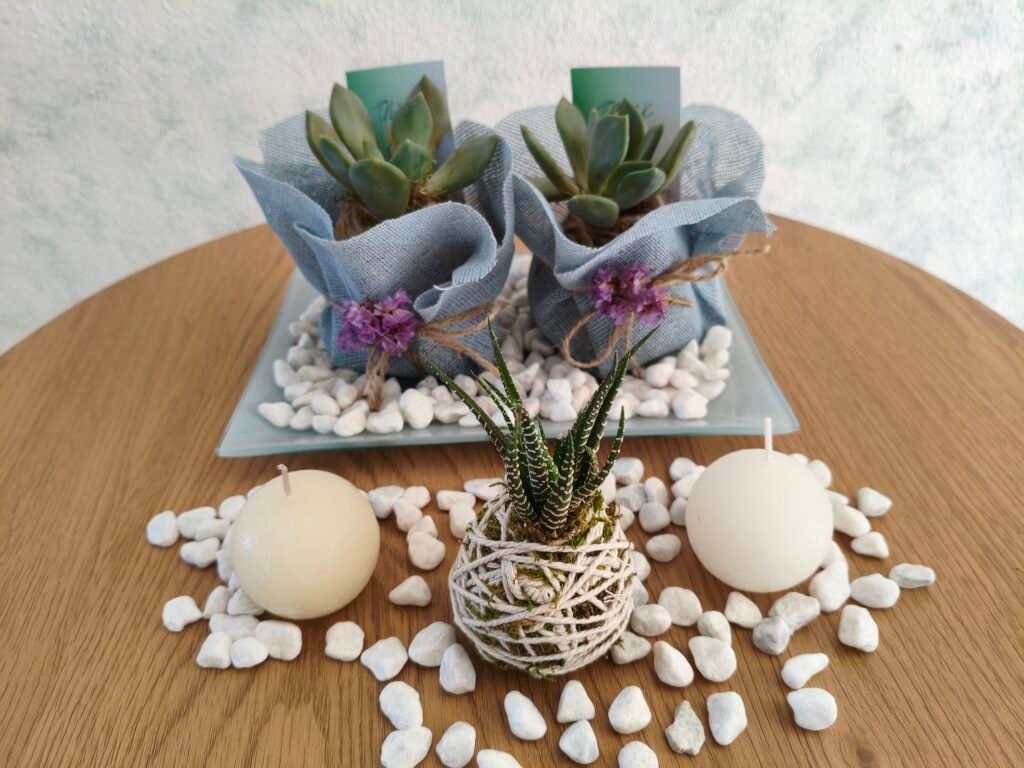
    kokedama wedding favours on a table

    Who says wedding favours have to be forgotten by the time your guests get home? If you’re looking for something unique, meaningful, and full of life, kokedama wedding favours are the perfect choice! These beautiful moss-covered plants are more than just a gift—they’re a little piece of nature your guests can enjoy long after the big day.

    Kokedamas are one of the most beautiful and unique ways to display plants. They replace traditional flower pots with a natural living sphere. Originating in Japan, this traditional gardening art replaces ordinary flower pots with handcrafted balls of soil wrapped in soft, natural moss. The result is a stunning living decoration that combines simplicity, elegance, and nature in a single design. Whether displayed in a decorative bowl, placed on a table, or suspended with string, kokedamas bring a fresh, peaceful touch to any space. Their timeless beauty, eco-friendly appeal, and handmade charm have made them a popular choice for home décor, thoughtful gifts, and unforgettable wedding favours.

    Want to learn more about Kokedamas? Read more on Wikipedia.

    • Small plants
    • Moss {Sheet moss or sphagnum moss}
    • Potting soil {70% bonsai soil and 30% peat moss}
    • Cotton or jute string
    • Scissors
    • Optional: ribbon and gift tags
    • A bowl of water to moisten the soil
    1. Prep the plant: Remove your plant from its pot and gently shake off excess dirt from the roots.
    2. Mix the mud: Combine the peat and bonsai soil with water until it forms a thick, moldable clay ball.
    3. Insert the plant: Split the clay ball in half, place the roots inside, and mold it back into a solid sphere.
    4. Wrap with moss: Wrap sheets of damp moss around the entire exterior of the soil ball until fully covered.
    5. Secure with string: Wind your string firmly around the ball in multiple directions and tie it off to secure the shape.
    • Eco-friendly – no plastic packaging needed.
    • Affordable – especially when made in batches.
    • Easy to personalise – add tags with names or the wedding date.
    • Elegant – they fit rustic, boho, garden, and modern weddings.
    • Memorable – guests keep a living plant instead of a disposable favour.

    When making kokedama wedding favours, choose plants that are small, hardy, and easy to care for. Your guests will appreciate a plant that stays healthy with minimal attention. Great choices include Succulents, Spider Plants, Pothos, Peace Lilies . These varieties are compact, beautiful, and long-lasting, making them perfect keepsakes that will remind your guests of your special day every time they see them growing.

  • Brighten Up Your Spaces: DIY Summer Home Decor Ideas

    Brighten Up Your Spaces: DIY Summer Home Decor Ideas

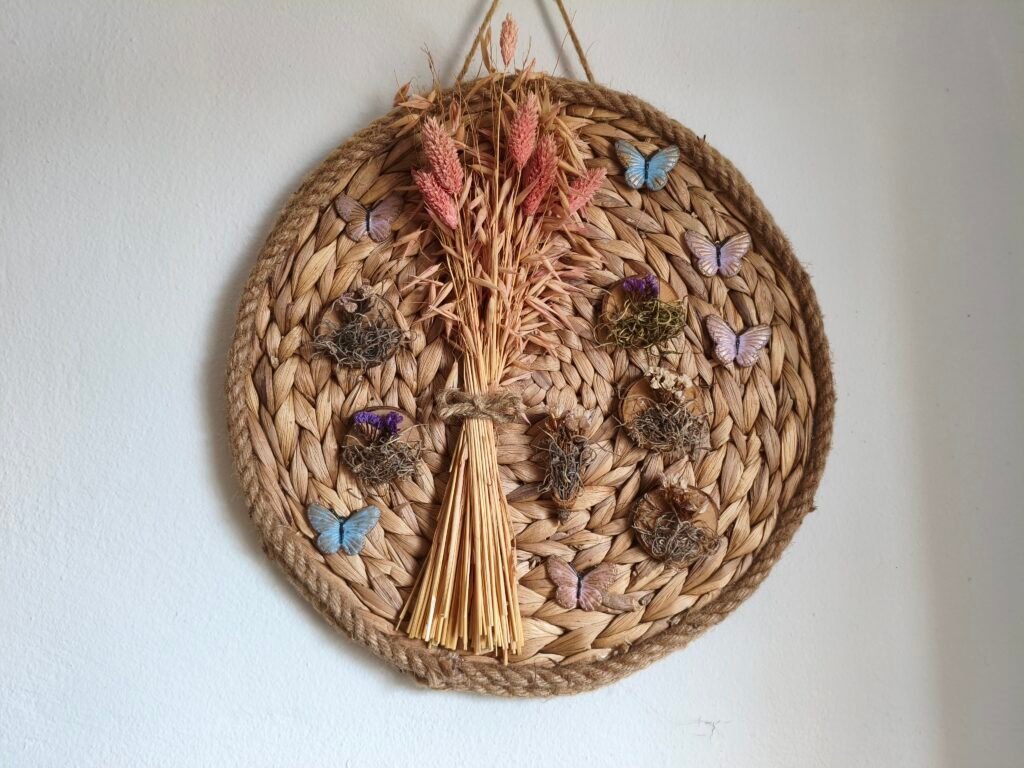
    Wall hanging suitable for summer home decor

    Making your home feel bright and beautiful this summer is easier than you could ever imagine! Bring sun and sea into your space with simple DIY summer home decor ideas. The smallest changes often make the biggest difference. You don’t need to spend a lot to transform your space; small, thoughtful changes can make a significant impact.

    Bring the beauty of nature indoors by decorating with natural elements and this is a wonderful way to connect with the season. Consider using fresh flowers, vibrant plants, or handmade ceramic vases filled with colourful blooms. You can create your own vases by painting glass jars or upcycling old containers, giving them a unique summer flair. Additionally, using shells or driftwood in your decor can bring a bit of coastal charm into your home.These simple touches add texture, colour, and a relaxed summer atmosphere without costing a fortune. Best of all, nature provides timeless decorations that never go out of style!

    One of the easiest ways to give your home a fresh summer feel is by lightening your colour palette. Soft whites, warm creams, sandy beiges, ocean blues, and gentle greens instantly make a space feel brighter, cooler, and more open. You don’t need to repaint your walls—simply swapping cushion covers, table runners, throws, or decorative accessories in lighter shades can completely transform the atmosphere and create a timeless summer look. Adding cushions with floral prints or throws in soft colours can instantly brighten your living space.

    Lastly, don’t forget to spruce up your outdoor areas too! A few colorful cushions and a creative table setting can turn your garden into a summer haven.

    – Decorate with fresh or dried flowers.

    – Add summer-scented candles.

    – Display seashells collected from the beach.

    – Decorate with lemons and citrus colours.

    – Use baskets made from natural fibres.

    – Add more indoor plants.

    – Switch to lighter cushion covers.

    – Hang a simple summer wreath.

    – Create a gallery wall with beach photos.

    – Decorate with driftwood.

    – Make DIY candle holders.

    – Create mini kokedamas.

    – Use linen table runners.

    – Set up a small summer drinks station

    The best time to refresh your home is now! You don’t have to wait for a special occasion or spend a fortune to create a space you’ll love. Start with one small change—a handmade decoration, a beautiful plant, or a colourful summer accent—and enjoy how even the simplest ideas can make your home feel brighter, happier, and full of summer charm.

  • Beginner’s Guide to Candle Wicks Types!

    Beginner’s Guide to Candle Wicks Types!

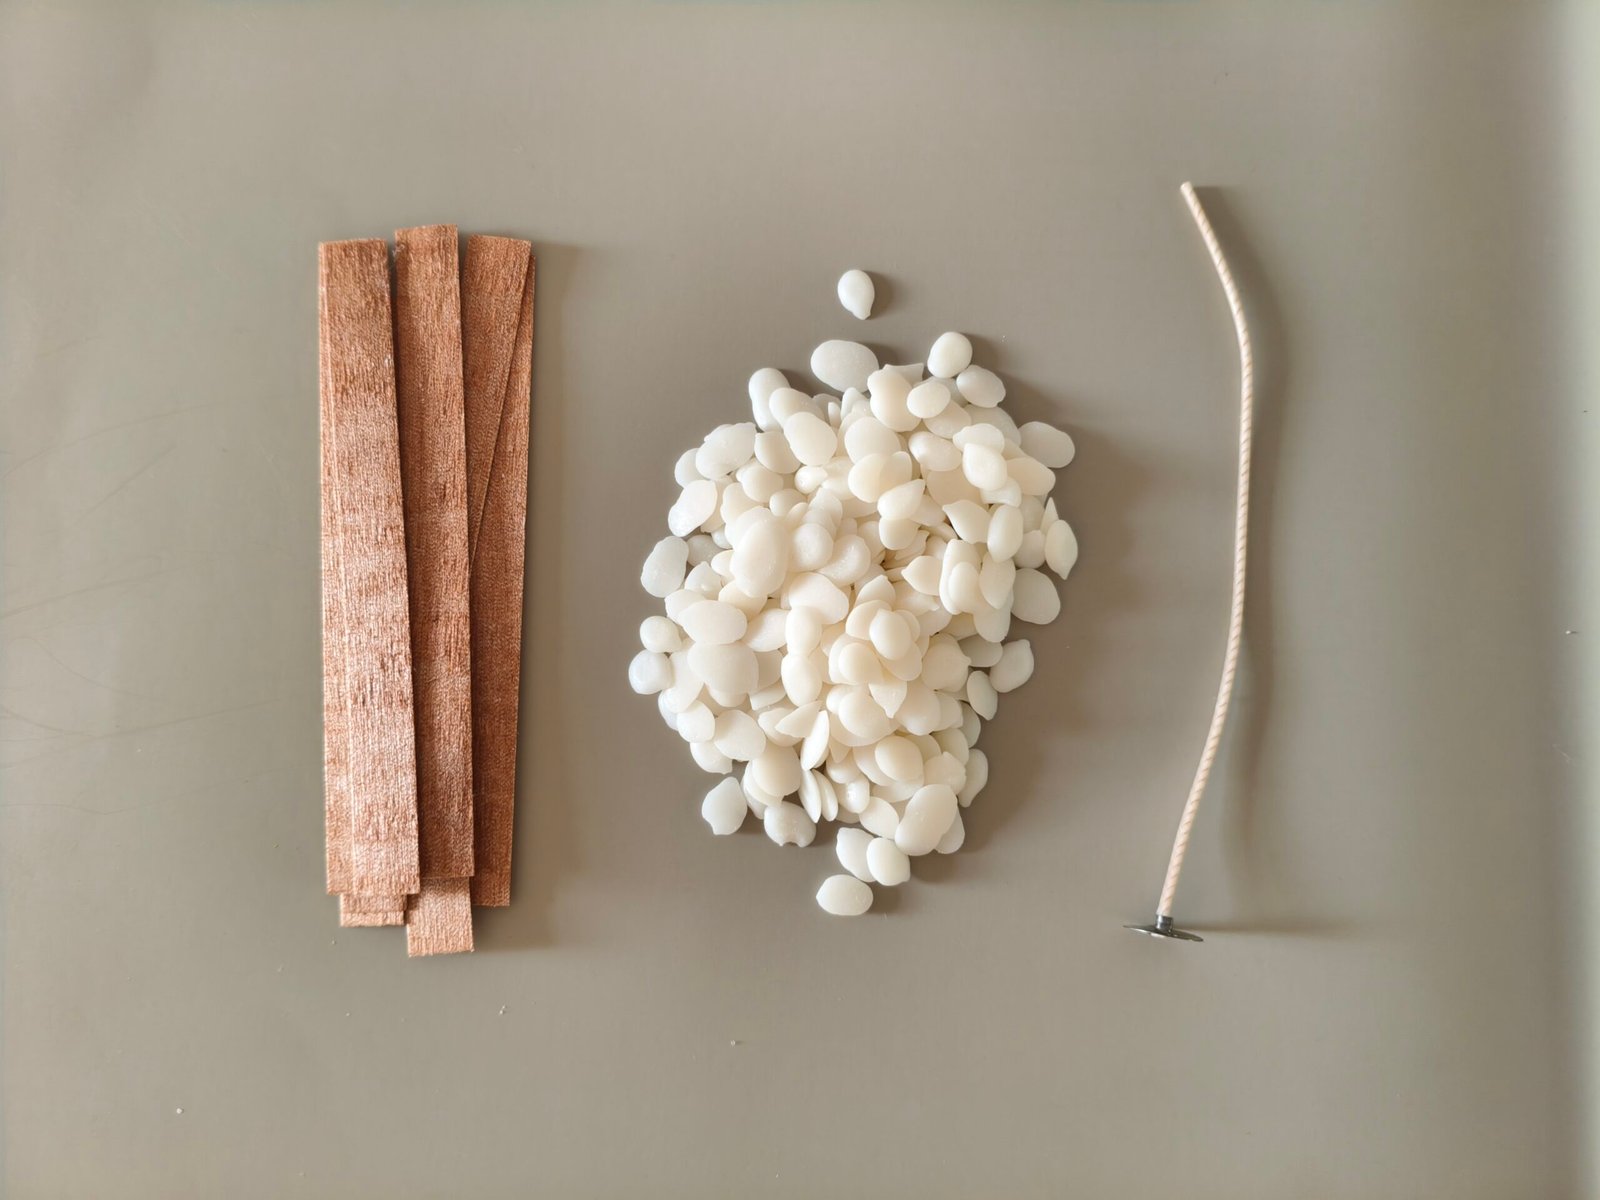
    candle wick types and soy wax on a table
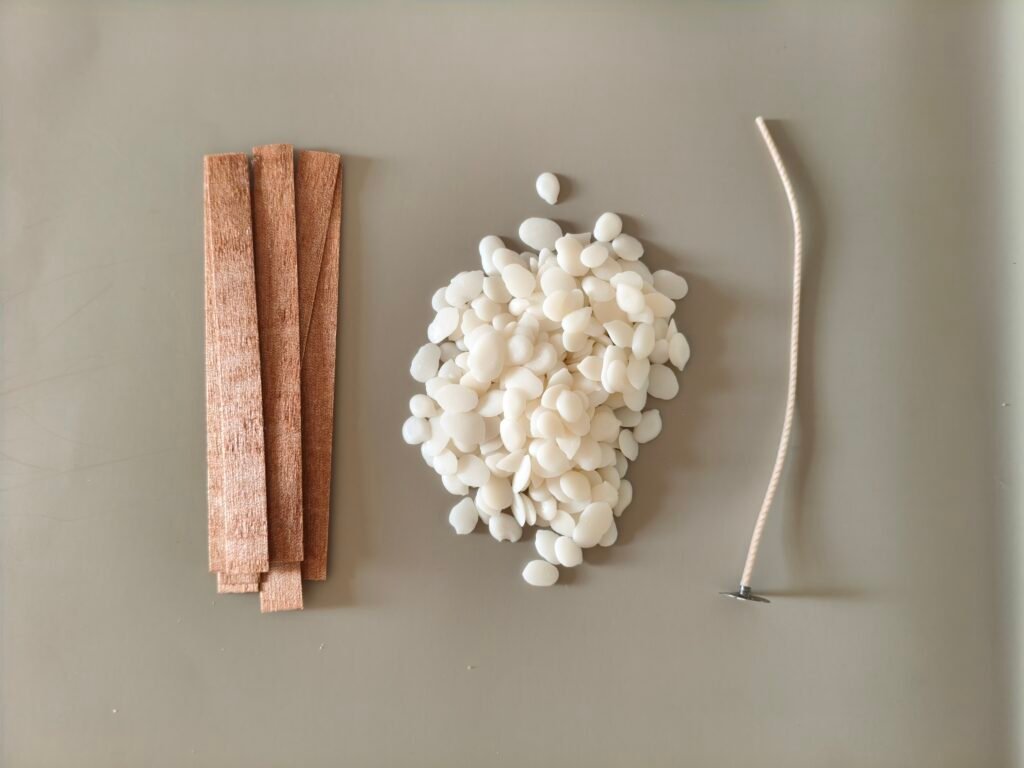
    candle wicks and soy wax on a table

    The wick may look like just a simple piece of string, but it’s actually one of the most important parts of a candle. It decides how your candle burns and how evenly the wax melts. Discover the most common candle wick types and find the best for you!

    The most common type of candle wicks.

    Advantages:

    • Easy to use
    • Clean-burning when properly sized
    • Suitable for most waxes
    • Affordable
    • Great for beginners

    Best for:

    • Soy wax
    • Beeswax
    • Paraffin
    • Coconut wax

    Made from thin strips of natural wood.

    Advantages:

    • Crackling fireplace sound
    • Wide, modern flame
    • Elegant appearance
    • Perfect for premium candles

    Disadvantages:

    • Can be trickier to size correctly
    • Require careful testing
    • May extinguish if not paired with the right wax or container

    A zinc-core wick is a cotton wick with a thin zinc wire running through its centre. The zinc core helps the wick stay upright while the candle burns, making it especially useful in container candles. Despite the name, the zinc does not burn. It simply provides structure and support.

    Advantages

    • Stays straight while burning.
    • Produces a stable, consistent flame.
    • Excellent for container candles.
    • Handles fragrance oils well.
    • Works well with paraffin and many paraffin-blend waxes.

    Disadvantages

    • Not as eco-friendly as 100% cotton or wooden wicks.
    • Less popular among natural candle makers.
    • Many makers of soy and natural candles prefer cotton or wooden wicks instead.
    Wax Type Common Wick Choice
    Soy WaxCotton, wooden
    BeeswaxCotton
    ParaffinCotton, zinc-core
    Coconut WaxCotton, wooden
    Palm WaxCotton

    Want to learn more about Candle wicks? Read more on Wikipedia.

    A candle wick isn’t “one size fits all.”

    The correct wick depends on:

    • Container diameter
    • Wax type
    • Fragrance load
    • Dye
    • Container material
    • Desired flame size

    Even two candles made with the same wax may need different wick sizes if their diameters differ.

    What Happens If the Wick Is Too Small?

    A wick that’s too small may cause:

    • Tunnelling
    • Small flame
    • Weak scent throw
    • Wax left around the edges
    • Candle going out

    What Happens If the Wick Is Too Large?

    A wick that’s too large can cause:

    • Very high flame
    • Excessive heat
    • Fast wax consumption
    • Smoking
    • Mushrooming
    • Soot on the container

    For the best burn, trim the wick to about 5–7 mm (¼ inch) before each use. This helps create a cleaner flame, reduces smoke, and can extend the life of your candle.

  • Candle Wax Types: Which One Is Best? The Complete Comparison Guide

    Candle Wax Types: Which One Is Best? The Complete Comparison Guide

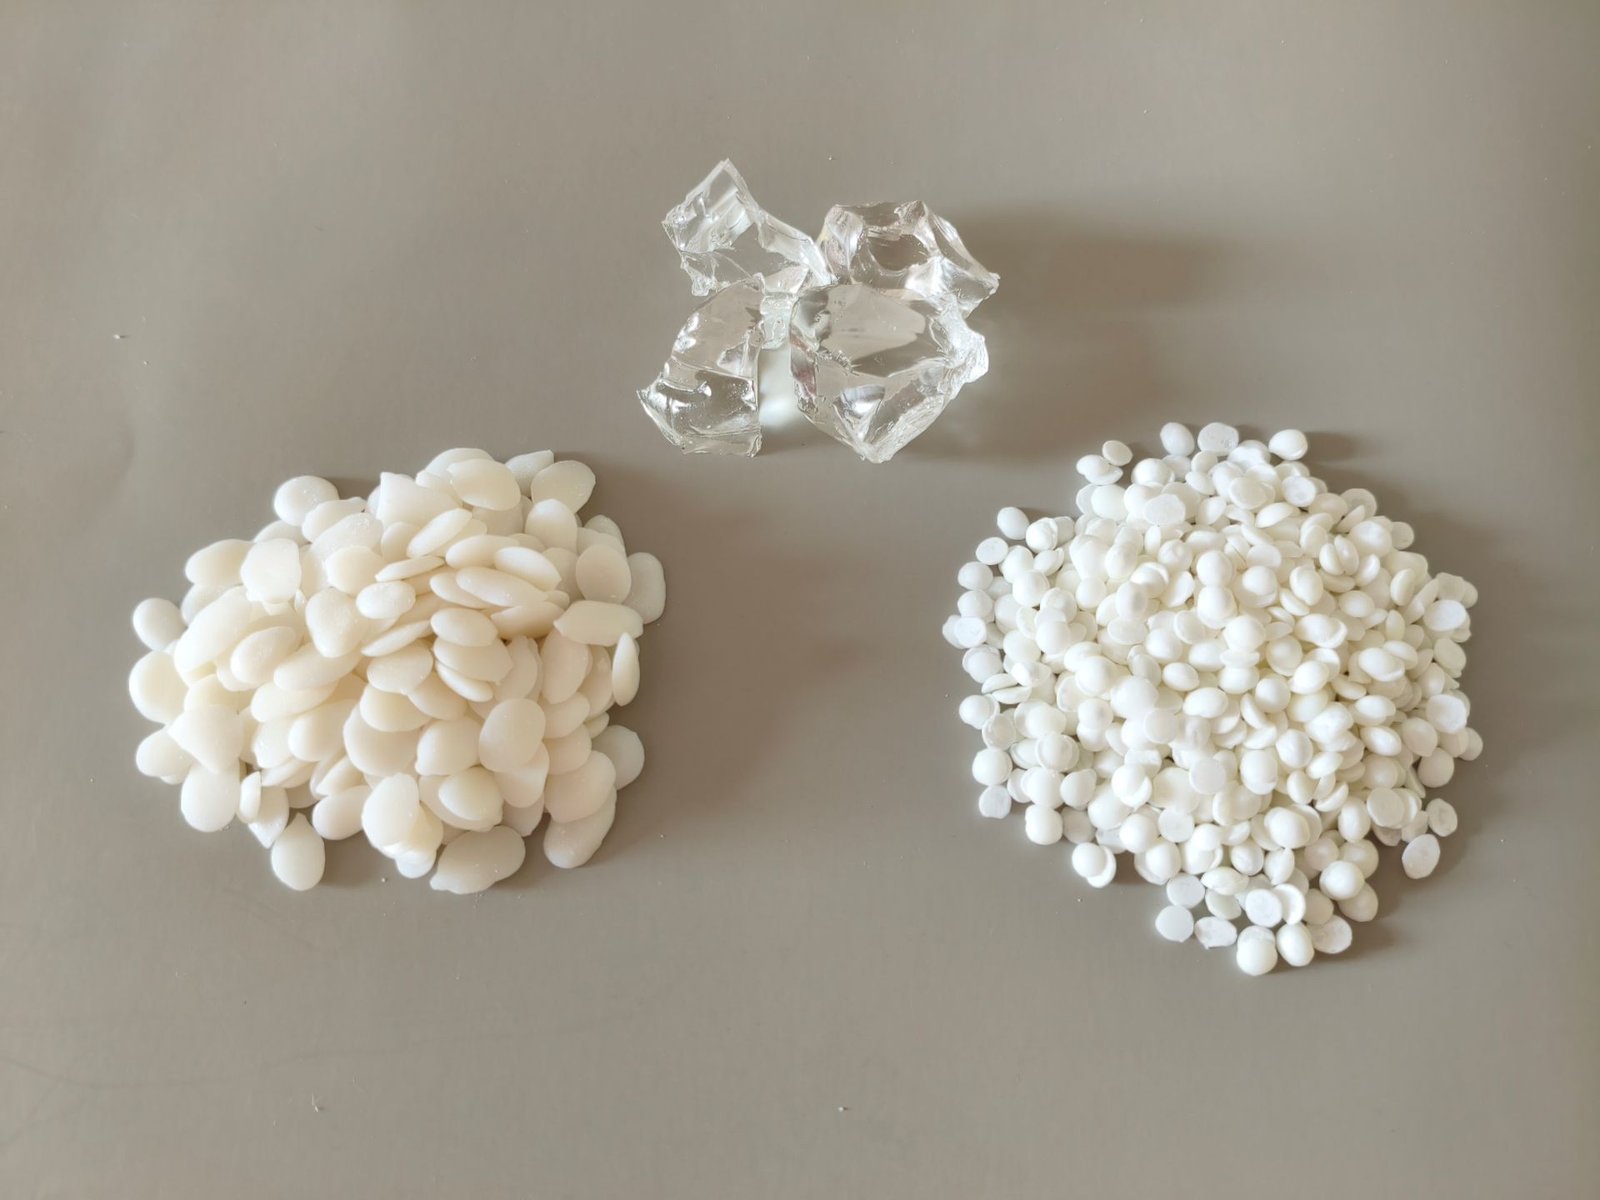
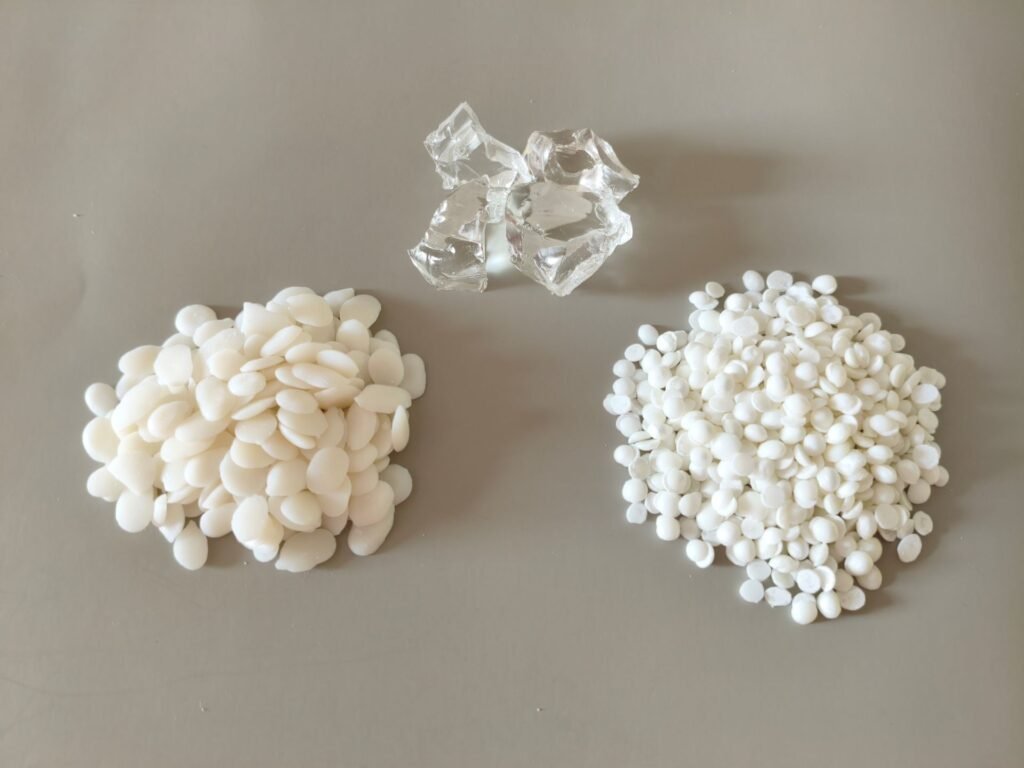
    3 candle wax types.

    So, you want to make your own candles? Discover the most common candle wax types.

    The candle wax types you choose is what gives a candle its unique character and it’s very important in candle making. It affects everything from burn time and scent throw to appearance, price, and environmental impact so let’s break down the most common types so you can find your perfect match!

    Soy wax is the most popular choice for DIY candle makers, and for good reason. It burns cleanly, holds fragrance beautifully, and is made from soybeans.

    Why you’ll love it:
    ✔ Beginner-friendly
    ✔ Eco-friendly
    ✔ Great for scented candles
    ✔ Burns slowly

    The catch?
    It can be a little picky and sometimes develops a frosty white finish—but that’s perfectly normal!

    Best for: Anyone starting their candle-making adventure.

    Want to learn more about Soy wax? Read more on Wikipedia.

    Beeswax is made by bees! It has a naturally sweet honey scent and burns longer than almost any other wax and it’s also quite common among candle wax types.

    Why you’ll love it:
    ✔ Long burn time
    ✔ Naturally beautiful
    ✔ No synthetic ingredients

    The catch?
    It’s one of the most expensive waxes and doesn’t always play nicely with added fragrances.

    Best for: Tall pillar candles and fun shapes from silicone molds.

    Want to learn more about Beeswax? Read more on Wikipedia.

    Paraffin is the old classic and most common in candle making. It’s affordable, colourful, and throws fragrance like it’s trying to impress the whole neighbourhood.

    Why you’ll love it:
    ✔ Strong scent throw
    ✔ Easy to colour
    ✔ Budget-friendly

    The catch?
    It’s made from petroleum, so many DIY makers prefer plant-based alternatives.

    Best for: Bold, colourful, super-scented candles.

    Want to learn more about Paraffin wax? Read more on Wikipedia.

    Smooth, creamy, and elegant, coconut wax is what many luxury candle brands love to use.

    Why you’ll love it:
    ✔ Slow-burning
    ✔ Beautiful finish
    ✔ Fantastic scent throw

    The catch?
    Your wallet might notice the difference!

    Best for: Luxury candles

    Rapeseed wax is renewable, sustainable, and becoming more popular every year.

    Why you’ll love it:
    ✔ Environmentally friendly
    ✔ Clean burn
    ✔ Great for container candles

    The catch?
    It can be a little harder to find.

    Best for: Eco-conscious crafters.

    Palm wax creates stunning textures that make candles look like tiny works of art.

    Why you’ll love it:
    ✔ Gorgeous natural patterns
    ✔ Long-lasting
    ✔ Great for pillar candles

    The catch?
    Always choose sustainably sourced palm wax.

    Best for: Decorative candles that steal the spotlight.

    Technically, it’s not a wax at all—but it’s too cool not to include. Gel candles let you suspend shells, glitter, and tiny decorations inside.

    Why you’ll love it:
    ✔ Crystal clear
    ✔ Perfect for creative designs
    ✔ Fun to customise

    The catch?
    It’s a little more difficult to work with than traditional waxes.

    Best for: Maximum fragrance on a budget

    Want to learn more about Paraffin wax? Read more on Wikipedia.

    Wax Type🌿 Natural🔥 Burn Time🌸 Scent Throw💰 Cost😊 Beginner Friendly🌍 Eco-Friendly⭐ Best For
    🌱 Soy Wax5-7 hours⭐⭐⭐⭐☆££⭐⭐⭐⭐⭐Everyday scented candles
    🐝 Beeswax6-8 hours⭐⭐☆☆☆££££⭐⭐⭐☆☆Natural, long-burning candles
    🎉 Paraffin Wax4-5 hours⭐⭐⭐⭐⭐£⭐⭐⭐⭐⭐Strong fragrance & vibrant colours
    🥥 Coconut Wax5-10 hours⭐⭐⭐⭐☆££££⭐⭐⭐☆☆Luxury candles
    🌼 Rapeseed Wax6-8 hours⭐⭐⭐☆☆£££⭐⭐⭐⭐☆container candles
    🌴 Palm Wax*5-9 hours⭐⭐⭐☆☆££⭐⭐⭐⭐☆ pillar candles
    Gel Wax8-10 hours⭐⭐⭐☆☆££⭐⭐☆☆☆Crystal clear

    The truth is… they’re all winners!

    • Soy is the everyday favourite.
    • Beeswax is natural and cosy.
    • Paraffin fills the room with fragrance.
    • Coconut brings luxury.
    • Rapeseed keeps things green.
    • Palm loves to show off.
    • Gel is the creative one.

    At the end of the day, the best candle isn’t the most expensive one—it’s the one that makes your home feel warm, welcoming, and just a little more beautiful.